Kringle for Dessert or a Snack


What is a kringle? I will give you a clue….comes from Denmark.  Give up? Or did you just google it!  It is a large pastry stuffed with fruit or nut filling. It is very buttery and simply delightful. Back in my wheat flour days I made it often and it was yeast raised.  It is so buttery that once I was taking a kringle to my mom’s for dessert and my dear friend Lois was holding the platter; it went sliding and was on the floor in a heartbeat.  Luckily the floor had just been cleaned and we picked it up, none the wiser!  We love to laugh about it now but gosh things could have gone bad if it had fallen on a grimy surface… Moral; hold onto your kringle! coffee cake 020
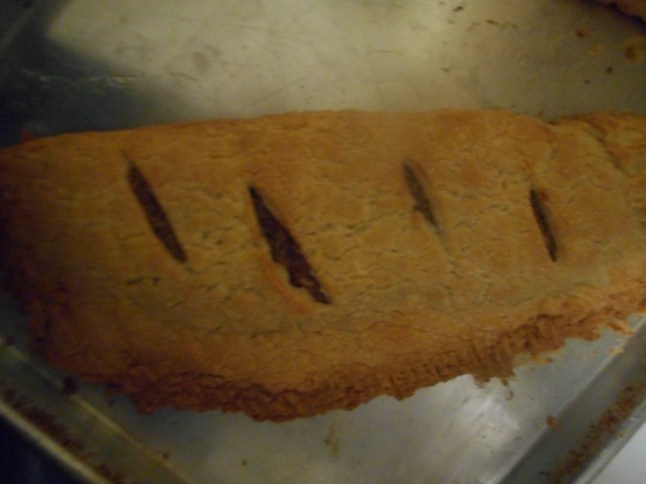
This version which I have made a couple times uses just baking powder.  It was created by Bette Hagman, a pioneer in the gluten free cookbook industry.  From her “More from the Gluten-Free Gourmet” cookbook originally published in 1993. Don’t make it if you want something really healthy as it is rich and crisp, almost like shortbread.  But, if you are looking for a treat for company it is a nice choice; can slice it into about six to eight servings and no one will complain it is gluten free, or even know!

I prefer the canned Solo almond filling but I have made it with their fruit fillings as well; cherry comes to mind as tasty.  Actually I got my original recipe off of a Solo filling can back. Just check the can to be sure it is labeled GF.  If you are vegan use margarine but I prefer butter. I would not suggest any other substitutions, especially of the sour cream.  It makes 2 and I have one in my freezer, instant fancy dessert for sometime in the next month or so.
coffee cake 010coffee cake 007coffee cake 008coffee cake 009coffee cake 011coffee cake 019

We gobbled it up and I totally forgot to take a picture of it iced or sliced! Next time.

Danish Kringle

Ingredients

‘1 ½ cups white rice flour

½ cup tapioca flour

1 tsp. baking powder

1 tsp. xanthan gum

1 cup butter or margarine, melted

½ cup ricotta cheese

½ cup sour cream

1 can Solo pie/pastry filling

Icing

½ cup confectioner’s sugar

  • 1 ½ tbsp milk

————

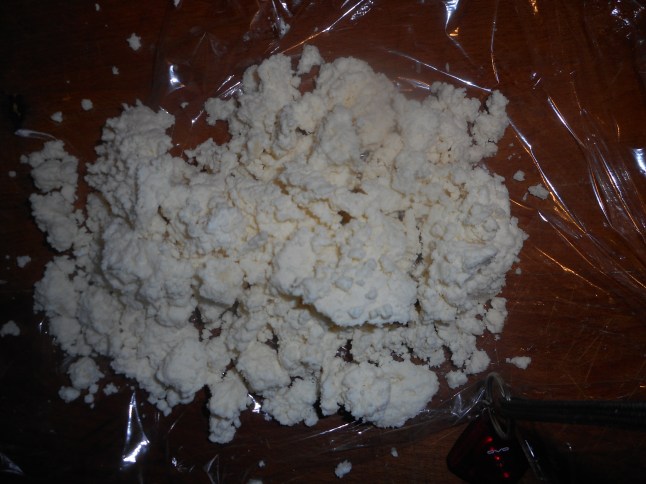
Directions: In a mixing bowl or stand mixer bowl stir together the dry ingredients, Stir in the butter, then the ricotta and sour cream. It will be very lumpy and wet.  Put plastic wrap on the bowl and chill for 2 plus hours.

Preheat your oven to 400 degrees.

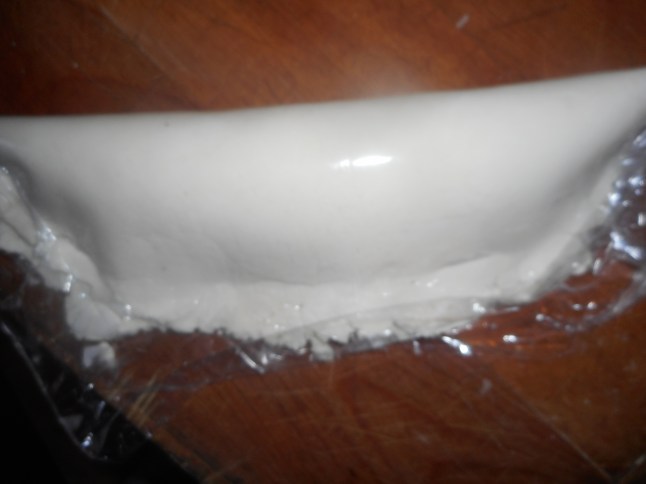
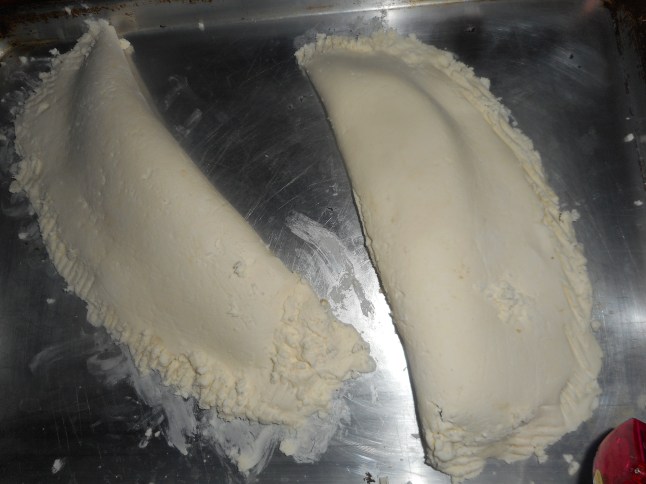
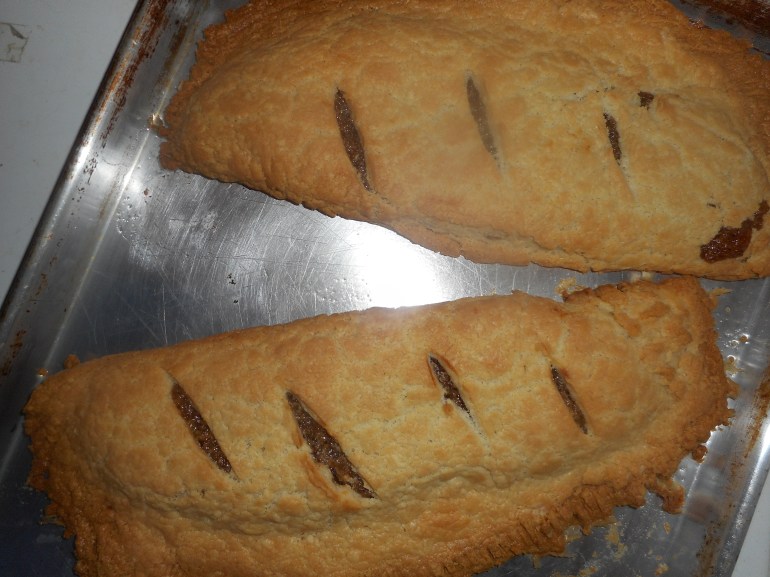
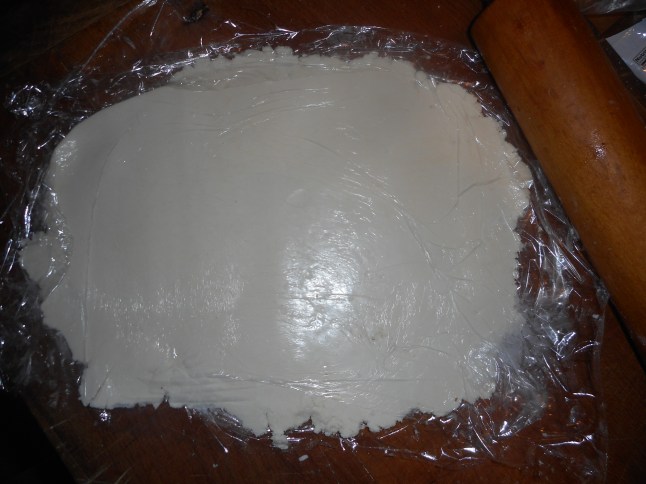
Divide the dough in half.  Lay a long strip of plastic wrap and dump the dough half on it.  Cover with another piece of plastic wrap.  Roll it out to a rectangle about 10 x 16.  I kept moving bits in to fill gaps to make it more rectangular. Peel off the top plastic.  Lay a long line of the filling down the middle of the long way.  Use half the can.  Lift one side of the under plastic and roll it over the filling.  Gently press down the dough to seal in the filling.  Use the under plastic to gently roll the big pastry onto an ungreased baking sheet; I used a big one with low sides for more even heat.  Repeat this process with the other half of dough and rest of canned filling.  Slash the top of the pastry in about 4-5 places to allow the filling to peep out.   Bake for 35 to 40 minutes until light brown.

Mix the icing; I did it right in my measuring cup.  Drizzle on while pastry is still hot/pretty warm.

Notes: watch it closely while it bakes; mine was done a bit faster than I expected; edges got somewhat brown, still very tasty. So watch yours closely in the last few minutes. And hold onto that gem as it is very slidy on a platter!
Apple Sour Cream Cinnamon Cake

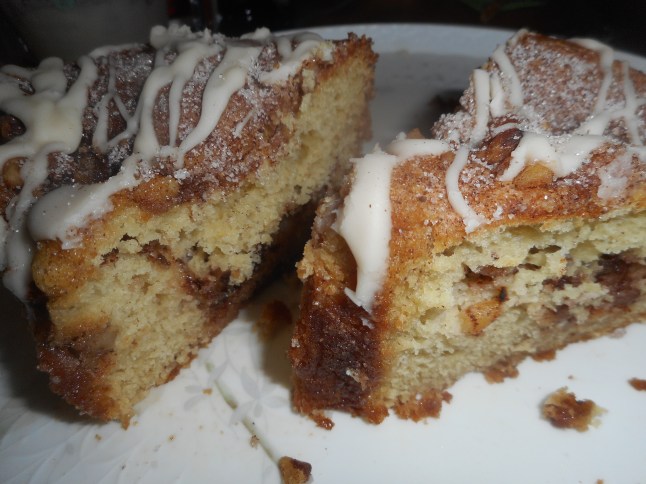
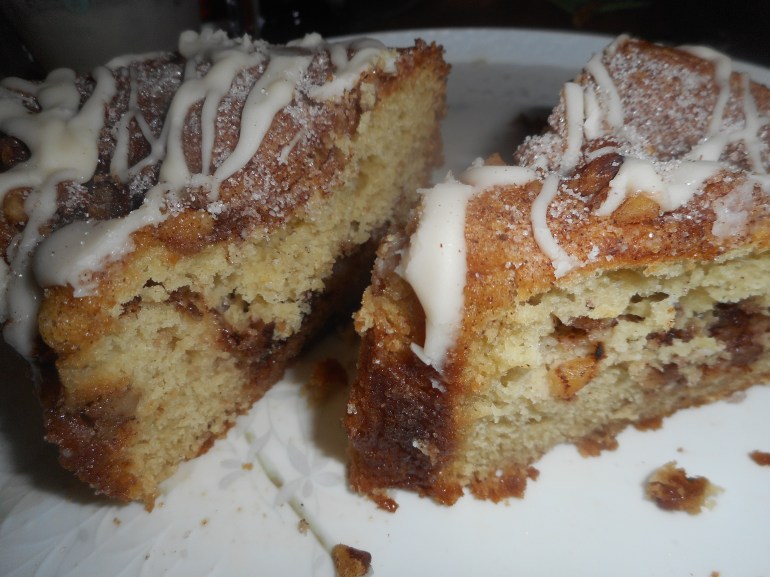
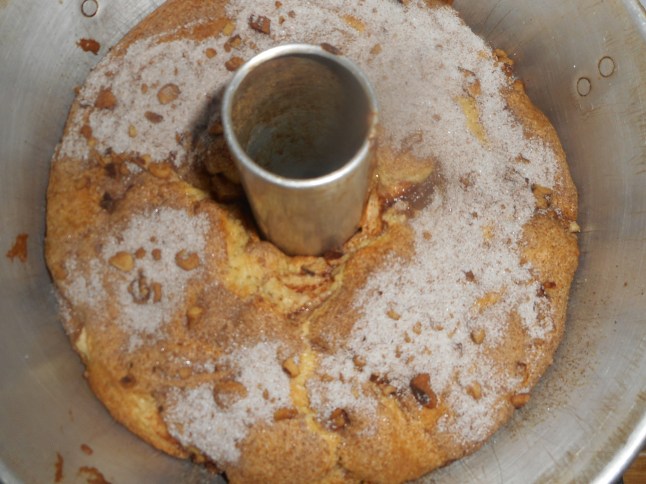
I am no longer a fan of the usual custom of the big fluffy iced birthday cake.  I have sure had some bad cake luck over the years, even when I COULD bake with regular flour!  So, I had a birthday cake to make one weekend, and I went a different direction. I made a cinnamon walnut apple cake.  Used that recipe before, and now I wonder why it took so long to make it again.  Addictively flavored with cinnamon and chopped walnuts. The thin layer of apples adds moisture and a delicate touch of apple. Yumm!

It is from my favorite cookbook by Annalise Roberts, Gluten Free Baking Classics.  To be honest it is more of a coffee cake but oh what a sweet and luscious treat it is; I swear you could feed it to anyone, and they would enjoy it. That cookbook is chock full of delicious recipes. I highly recommend it. My copy is much worn and floured! Might be time for a new copy!

Easy mixing up of dry ingredients, beat the eggs and sugar with electric mixer and combine all.  Layer it up with thin slivers of raw apple and the nut/sugar mix.  In all it has about a half cup less sugar than most birthday cakes and if you frost the cake, you are adding a lot more calories than my simple glaze.  The cake is fine without glaze, but I felt it added a lovely finish and great complexity to the flavors of this treat.

I didn’t take many pictures; my fingers were sticky with dough, and I really had to just put the cake together; my assistant was only 4 years old and he was more important to me than taking pictures when I made this the other day. Next time I will take shots as I put it together and add them to this posting.

coffee cake 049

coffee cake 077

Sour Cream Coffee Cake

½ cup chopped walnuts

2 tsp. cinnamon

1 ½ cups sugar, divided

1 medium apple; peeled, cored and cut in 8 wedges and each in 8 slices.

2 cups brown rice flour mix

1 ½ tsp. baking powder

1 tsp. baking soda

¾ tsp. xanthan gum

½ tsp. salt

2 large eggs, room temp

2 tsp. vanilla extract

1 cup sour cream, room temp

1/3 cup canola oil

Directions: Preheat oven to 350 degrees. Put rack in center of oven.  Spray a 9-inch tube pan with removable bottom with cooking spray.

Mix walnuts, cinnamon and half cup of the sugar in a small bowl.

Whisk rest of dry ingredients in a small bowl.

Beat eggs in the large bowl of an electric mixer until well blended; 2-3 minutes.  Add the rest of the sugar one tbsp. at a time beating well until creamy colored and fluffy. Add vanilla, sour cream, oil and flour mixture and then beat at low speed for 30 seconds, medium low if your mixer has a very low speed, should be well blended. Spread half that batter in the pan, top with apple bits and half the nut/sugar mix.  Spread rest of batter on top evenly; I plop small bits trying not to get too much in any one area. Cover with rest of sugar/walnut mixture. Don’t worry if it doesn’t seem even; it will rise and form into a cohesive cake.

Bake 50 minutes (Do NOT open until 45 min) until cake tester comes out clean.  Cool in pan on a cake rack for 20 minutes.  Cut down with a thin bread knife around the outside and the center tube and remove from pan; cool completely before slicing underneath to release the cake from the tube.

I made a simple glaze to drizzle over the top; 1 cup confectioner’s sugar, 1 tsp. vanilla extract, 2-3 tbsp. cream or milk.  Add the vanilla and 2 tbsp of milk; add more milk to thin it to the consistency that will allow you to drizzle from a spoon onto the cake.  Slice with a bread knife for perfect serving of this yummy treat.

Brown Rice Flour Mix base mix
2 c brown rice flour

2/3 c potato starch

1/3 c tapioca flour

King Arthur GF Flour

Some months ago I heard that King Arthur Flour’s GF blend was just the same as the blend I use out of Annalise Roberts’ cookbooks.  So I started including that on all my blog postings that used her flour blend.  I must have told my sister that as she got me a box of the baking blend as a Christmas gift; so I would have flour ready to use in a hurry without measuring. I was pleased with that thought.  Opened it the other day and started using it.  king arthur flour baking mixBefore I scooped any I did read the package label.  It does have the same 3 flours as my fav blend but there are some additional ingredients; xanthan gum, baking powder, baking soda, salt and a few other things.  She gave me the baking mix.  A different beast indeed.

Hmmmn I was a bit distressed by that finding.  But I really didn’t have any more blend on hand so I went with the box.  I added more leavening than was already in but not the full amount the recipe specified.  For example; if it said 3/4 tsp. xanthan gum  I used half a teaspoon.  And if it wanted 1 3/4 tsp. baking powder I put in a slightly over the tsp. measure of it.  Without knowing the percentage of those add ins I felt I should add some but not really all; I went with about 3/4 of what the recipe asked for.  I have made a couple of things; cookies and crust.  All turned out fine.  So you can use it in my recipes; just cut back slightly in those three items; baking powder, salt and xanthan gum.

If you really want the exact blend that I prefer you need to buy King Arthur’s mult-purpose GF flour blend; it appears to not have those leavening additions.  king arthur blendFrom now on I may make that suggestion at the bottom of my posts so you can use the King Arthur ready made baking blend if you want or have to.

I am hoping to make some thumbprint cookies later today; sure that they will be gobbled up.

Happy New Year folks!


Chocolate Birthday Cake

Okay, I have to confess something. I am a terrible cake baker, when I am under pressure, that is. I call it the birthday cake curse. Really. I actually felt it necessary to take a personal vow like 11-12 years ago to make no more scratch birthday cakes as they always get screwed up. Any number of cakes that didn’t rise properly or cracked as it baked or broke as I tried to get them out of the pan. I could go on and on. The curse continues!

Now I am gluten free and there are very limited and/or expensive options as to making gf cakes. The store mixes only make one layer so for a two layer cake it will cost about $8 not counting the ingredients added to the mix or an icing. Perhaps I should mention that I enjoy baking and it is a challenge I accept in my new gluten free life. So I persevered on this cake issue and several birthday cakes have been created since going gf and all were totally yummy. A few glitches but on the whole, I am pleased with my new gf birthday cake record. When I baked my grandson’s cake it wasn’t perfect looking but it sure was tasty. When it came out of my oven the layers sank some in the center. Re-reading her instructions at the start of the cake chapter I discovered that she does not recommend using a Kitchen Aid mixer; it is too powerful and always over beats gluten free cakes. Now I know. I just flipped one layer over and used it as the bottom. I put extra cream cheese icing in the middle. The top was level and the flavors were out of this world. Aidens 2014 birthday party 006

This is at least the fourth time I have baked this cake for a birthday and so it is time to share it…again: I posted this last November but it is so good it is definitely worth a second share. It is from my go to cookbook; Gluten-Free Baking Classics by Annalise Roberts. Get a copy if you haven’t already. This cake is incredibly yummy, no one will ever feel cheated by the gf nature of it. And it isn’t that difficult to make, just don’t use that big powerful mixer! I like that it is make with low fat milk and canola oil; less fatty than many cake recipes. I used half the vanilla in the cake and it tastes perfect. I also measure the oil and milk and remove that tablespoon from each before mixing; she does it after mixing. I think oil and milk are hard to blend so I do it first.

chocolate cake 001
I iced the cake with a frosting from the “Chocolate Cake Mix Doctor”; vanilla cream cheese frosting and the contrast is perfection with this decadent chocolate layer cake. This icing spreads easily and the cream cheese makes it smooth and less sweet with a tangy undertone; it is addictive. It’s a perfect combo for a birthday celebration once you poke a few candles on top.  Or any kind of celebration, it is that good that I need no other recipe for a chocolate layer cake.

This cake gets its deep chocolate flavor from two sources, unsweetened chocolate and unsweetened cocoa powder. You will need a fair amount of sugar to make it sweet enough. And you will need some of that brown rice flour mix I often use. The recipe for that is below. Enjoy this addictive all occasion cake!

Chocolate Fudge Birthday Cake

4 oz unsweetened chocolate chopped up
1 ¾ cup brown rice flour mix
¼ cup unsweetened cocoa powder
2 tsp. baking powder
1 tsp. baking soda
½ tsp. salt
¾ tsp. xanthan gum
½ cup canola oil
1 ½ cup low fat milk
2 cups granulated sugar
2 large eggs
1 tsp. vanilla extract

Line two nine inch cake pans with parchment paper; spray the inside of the pan lightly with cooking spray. Do not use dark pans; light ones are far better for this cake. Heat the oven to 350 degrees, oven rack in the middle.

Melt chocolate, stir often. I used the melting feature on my microwave and did a lot of stirring until the last bits were liquid. You can do it in a double boiler if you are into that sort of thing. I went for the easy way.

Put all dry ingredients in a medium bowl and whisk well to combine.

Measure oil and milk, remove 1 tbsp. from each and discard. Mix together.

Beat sugar and eggs in a large mixing bowl. Do not use your Kitchen Aid; use a portable mixer as it has less power and won’t mess up the batter like that big mixer will. Beat until light and fluffy. Blend in melted chocolate and vanilla, blend well. Add the dry and wet ingredients alternating half at a time, low speed on mixer. Mix at medium speed for one minute.

Pour into the prepared pans and bake immediately. Any delay is not going to help so have the oven ready to go. Bake 30-35 minutes, until toothpick comes out clean. Cool in pan 5 minutes, run knife around edge, tip out onto a cooling rack. Flip upright so the top of the cake is on the top. Let cool completely before icing. You could make cupcakes out of it but no 8 inch pan; I tried that once and it overran the pan in a crazy “I love Lucy” manner!

Brown Rice Flour Mix (same as King Arthur GF Flour)
2 c brown rice flour
2/3 c potato starch
1/3 c tapioca flour

Best Ever Cream cheese Icing

1 8 oz package light cream cheese, room temp
1 8 oz stick salted butter, room temperature
3 ¾ cups powdered sugar, sieved
2 tsp. real vanilla extract.

Blend the cream cheese and butter in the mixer (yes I used my Kitchen Aid for this recipe!) Add the powdered sugar one cup at a time, blending on low speed. Do not skip the sieving. Add the vanilla and blend a bit more. This recipe will frost one 9 inch layer cake perfectly.

Peanut Butter Beauties

I keep hearing about recipes for three ingredient peanut butter cookies. I wanted something a bit more actual cookie texture (think less greasy) and with less sugar than the versions I have come across. So I decided to play with the proportions and I wanted to add some gf flour. I cut the sugar by one fourth and dumped in a small amount of flour. To make sure my results weren’t like a brick I added some baking powder and to keep them from being incredibly crumbly messes I tossed in a touch of xanthan gum. The resulting dough was still a tad crumbly but when you scrunch up about a tablespoon with your fingers it forms a ball that can be flattened with a fork dipped in granulated sugar in the traditional cross hatch of all great peanut butter cookies.

The results: simple but tasty = peanut butter heaven. I must advise that I used chunky peanut butter. I don’t much care for creamy peanut butter so I try not to have to buy it for recipes. So I chunked it and my somewhat picky eater who doesn’t like chunky peanut butter was in love with these beauties. I am guessing it would work with creamy. Let me know how they turn out if you make them with a creamy peanut butter.

peanut butter cookies 001

To review, significantly lower in sugar than most three ingredient recipes, great flavor and texture and simple to make. Bonus: they still remind me of the peanut butter cookies of my childhood…which were full of all purpose flour! I used my typical flour blend; King Arthur gf blend but I am sure Better Batter or Cup for Cup will work. If your blend has gum in it no additional gum is needed so leave that quarter teaspoon out.

Note: if you love the salty cookie concept, sprinkle with coarse sea salt before baking. Either sweet or salty they are somewhat addictive, especially fantastic with a glass of cold milk.

cranberry apple pie and peanut butter cookies 007cranberry apple pie and peanut butter cookies 008cranberry apple pie and peanut butter cookies 009

Chunky Peanut Butter cookies

1 cup chunky peanut butter
¾ cup sugar
1 large egg (room temp)
½ cup gf flour blend
½ tsp. baking powder
¼ tsp. xanthan gum

¼ cup sugar for fork action
Coarse sea salt (optional)

Directions: Mix first six ingredients well in stand mixer. Form into balls by squeezing in hand. Place on ungreased cookie sheet, press with fork dipped into sugar. Sprinkle with coarse sea salt if desired.

Bake at 375 for 9 to 11 minutes. Watch carefully – they burn easily. Let stand one minute before lifting off with pancake turner to a cooling rack. Eat and enjoy these gems of cookies…you will be taken back to your childhood.