
Subscribe to continue reading
Subscribe to get access to the rest of this post and other subscriber-only content.

Subscribe to get access to the rest of this post and other subscriber-only content.

Subscribe to get access to the rest of this post and other subscriber-only content.
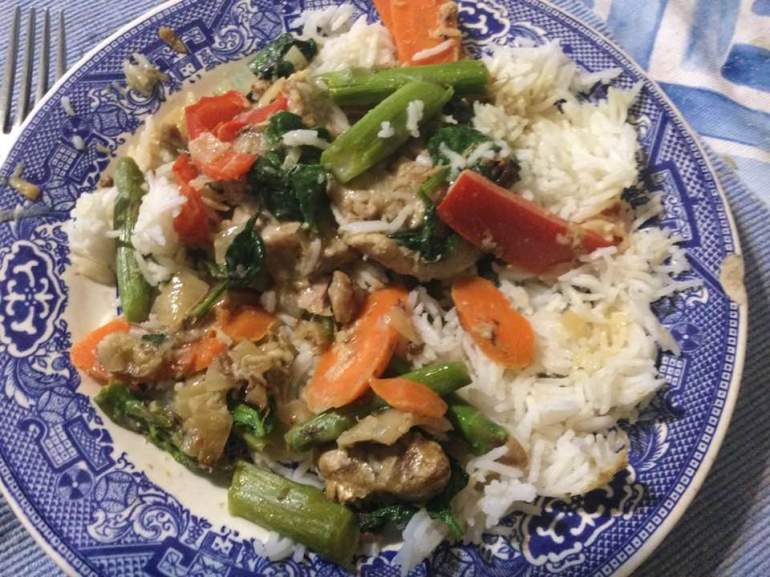
I was looking for a simple Thai curry without using curry pastes to flavor it. I was thinking some coconut milk for great flavor and I found a few recipes. I blended two or three together to make the best Thai chicken curry I have ever created. I loaded it with fresh vegetables and love it’s clean fresh flavor. And I hope you will too. You can use different vegetables – what you have and what you like. I found the amount of sauce to be perfect, actually ate it with a big spoon so I could get every soupy bit!
Notes: Please use full fat coconut milk for the correct consistency and flavor. I used boneless chicken thighs. It could be easily made with boneless split chicken breasts. I let my guy eat most of the hot pepper rings, to each his own. I do like how it makes it sing with a bit of controlled heat. Do not leave the fish sauce out; you won’t even know it is in there, but it really enhances the flavor. Enjoy!
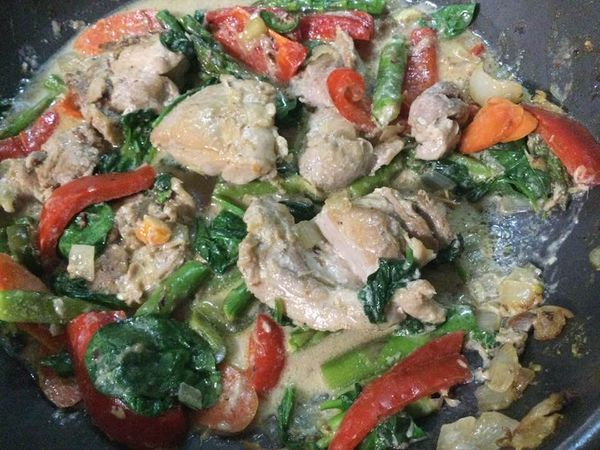
Thai Chicken Coconut Lime Curry
Ingredients
2 Tbsp mild olive oil
1.5-2 lbs. boneless and skinless chicken thighs
1/2-2/3 cup chopped onion
1 large carrot peeled and sliced thin on the diagonal: 1/4 inch width
1 large red pepper cut in long strips and then cut the strips in half
2 cloves of garlic pressed
1 Tbsp. fresh ginger grated (I freeze mine and it grates well that way)
1/3 of a jalapeno pepper or a red chili pepper of the heat you prefer, slice in narrow rings, remove seeds
1 can full fat coconut soup, shake it up before opening
1 Tbsp. fish sauce
Zest a lime and then juice it (need 2 Tbsp lime juice)
1 cup asparagus stems snapped into 1.5-inch lengths. If it won’t snap; pitch the rest
OR tender green beans cut in a similar length
2 cups of baby spinach washed and drained
More lime – wedges to squeeze over each dish
Instructions: Prep work of cutting up all veggies into small pieces as described and similar lengths other than chopped onions which will be smaller. Prep work of cutting boneless thighs into halves or thirds depending on size. I would leave breasts the half size, so they don’t overcook. A whole breast would be too big. Split in half is perfect I am thinking.
I used a 15-inch-wide paella pan, mine is nonstick and gives me the room for all the veggies in this dish. Just use a large sauté pan that will hold everything. Heat it a few minutes, add 1 tbsp of the mild oil. When it is hot add the chicken. Brown it for 3 minutes on each side and then use tongs to remove them to a plate. Add the other tbsp. oil and then the onion when the pan is fairly hot. Turn the heat to medium low and cook until starting to get soft 4 minutes (stir it as it cooks so no burnt onion bits). Add carrot slices and red pepper strips; cook another 2 minutes. Add the fish sauce, grated ginger, garlic, stir well, add the coconut milk, stir well as it gets hot, stop just before a boil ensues. Return the chicken thighs to the pan and simmer, covered, for 10 minutes. Turn the chicken pieces over, cook 5 minutes, nestle the asparagus spears into the sauce and cover it again. Add the lime juice and zest and the spinach leaves after 5 more minutes, keep covered. By now the asparagus should be soft enough to stick in a fork. If not, cook another minute. The spinach just needs to wilt; it will continue to do that even after you turn off the heat.
If you like cilantro throw on a third of a cup of chopped fresh cilantro at the end, we don’t so I didn’t. If you can get Thai basil, use that instead! I can only find it if I grow it myself. So summer is the season for Thai basil. Great hot basil taste which is perfect in Thai curries.
Serve this curry over hot Jasmine rice. I make mine in a sauce pan that I cut a brown paper bag circle to fit between the pot and the tight-fitting lid, it should overhang by an inch or so; the paper liner keeps liquid from escaping and drying out the rice before it is done. Or make it in your Instant Pot. I made a full cup of uncooked rice, and it was just about the perfect amount of rice. Enjoy!

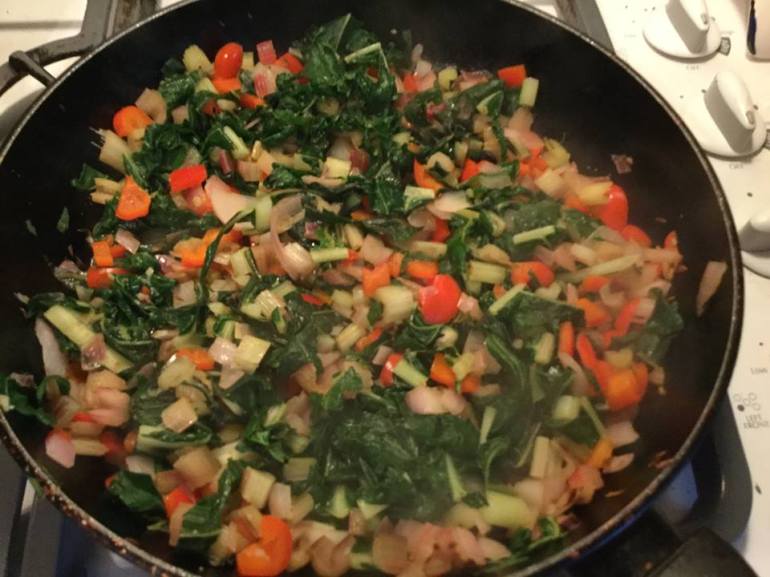
Tomorrow isn’t Tuesday and meatless meals don’t thrill me like those made with serious proteins, favorites like salmon, poultry, lamb or pork. That said, I have a few delightful vegetarian items I make on occasion. This recipe is at the top of my roster, these Swiss chard tacos. My sister made these once while I was up visiting her. I was skeptical but found them to be really delicious and a great way to use up a lot of the Swiss chard growing profusely in my gardens! No meat but you won’t miss it in these flavorful and filling tacos.
I sometimes use Mexican cheese but you can also use Monterey Jack as that is what the original recipe called for and what I currently prefer. The recipe is out of an old Home and Garden magazine. I made a few changes….added some ground cumin for extra spice. Don’t forget the red wine vinegar, really a great finishing touch.
The white corn tortillas in these pictures (La Bandarita brand) came from Wegmans; they have one up near Boston. There are three Wegman’s here near me. I got some light corn tortillas today at my local Giant; they work well. Enjoy!


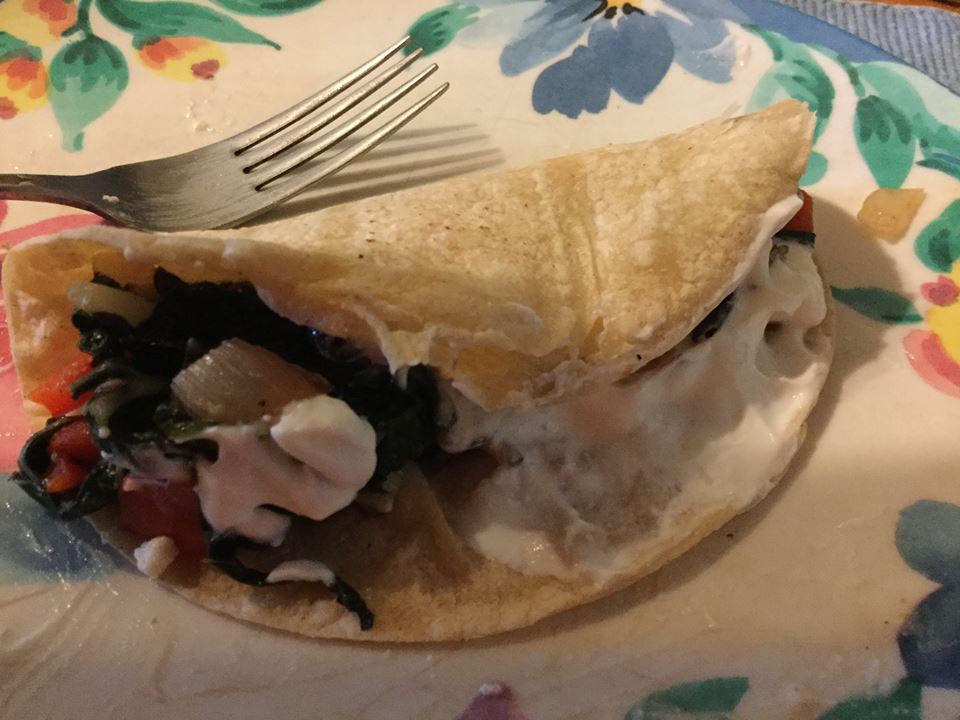
Sorry for the messy picture. I guess I should make a prettier taco!
Karen’s Swiss Chard Tacos
1 lb Swiss chard
½ tsp. cumin seeds
¼ tsp. ground cumin
½ a red onion, chopped
1 red pepper, chopped
1 tbsp. olive oil
1 clove garlic minced
1 Tbsp. red wine vinegar
1 can of black beans, rinsed and well drained
8 tortillas; corn flour
1 cup of Monterey jack cheese or Queso Fresca cheese; grated
1/3 cup sour cream, reduced fat is my preference
cilantro for garnish if desired
Directions:
Chop up the chard stems into half inch dice. Rough chop the rest of the chard and set aside. Heat a large frying pan and add the cumin seeds; cook 1-2 minutes until fragrant. Add olive oil then chard stems. Cook 3 minutes until softening. Add the chard leaves that you have rough chopped, ground cumin, onion, garlic and red pepper. Cook 3 min, stirring. Add the red wine vinegar and the black beans. Stir well, cook 3-4 minutes longer. The greens should be wilted but they don’t need to be fully cooked down.
Meanwhile while the filling cooks; heat oven to 350 degrees. Lay tortillas out on baking sheets. Sprinkle grated cheese in the center of each. Bake 4-5 minutes until cheese starts melting and tortilla is somewhat crisp. Remove from oven. Place a generous amount of chard mixture on each tortilla. Top with a spoonful of sour cream. Sprinkle cilantro over top if desired. I am not a fan but you might be…
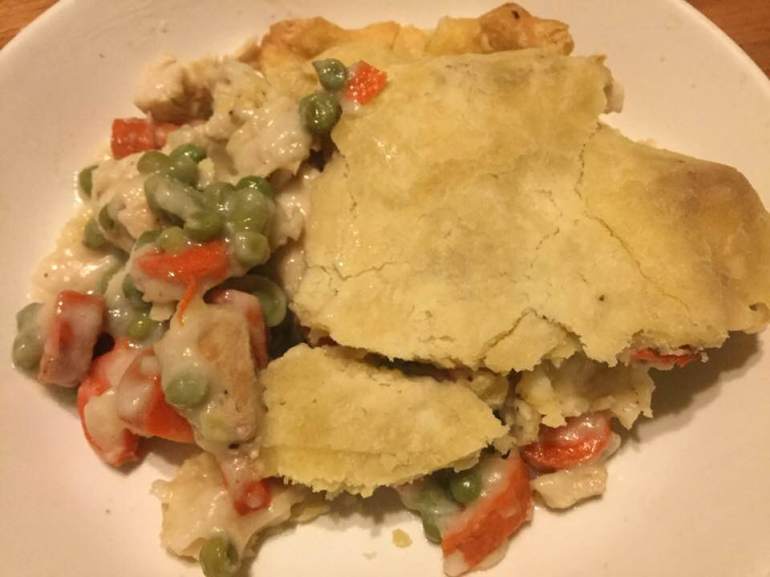

If you have any leftover chicken from a roast or rotisserie bird this is an excellent way to use it up. You will need two cups of chicken to make this delectable entrée: chicken pot pie. My version tracks pretty close to that you can find in a 1970’s Betty Crocker Cookbook. Gluten free though…because I must! You can toss it together in about 30 minutes and it bakes in 35 more. Your tummy will thank me. I put some celery seeds in the pie crust for extra flavor. I generally make it with just a top crust which is less calories. If you want the full deal; double the crust ingredients and make a bottom crust too. Your creation will be a delicious and substantial meal for sure! This crust bakes up flaky and delicate; perfection for a pot pie.
Notes: you can use light or dark meat or combo. I used baby carrots this time; cut them across into 4 little nibs; they were organic and had a delicious tender flavor.
Chicken Pot Pie
Crust:
1 c plus 2 Tbsp. brown rice flour mix (at bottom of recipe)
2 Tbsp. sweet rice flour
1 tbsp. sugar (You will never know it is in there; it makes the crust more flakey)
½ tsp xanthan gum
¼ tsp salt
6 Tbsp. cold butter cut into 12 small chunks
1 large egg
2 tsp fresh orange or lemon juice
Directions: Mix dry ingredients in bowl of stand electric mixer. Add butter and mix until crumbly and resembling coarse meal. Add egg and juice. Mix until it comes together into big chunks. Shape into a ball with your hands. Put it on a crust sized piece of wax paper (14 x 14 inches more or less), flatten the crust ball some; put on top of it another piece of wax paper and chill it all in your fridge 15-20 minutes.
Pie filling
1/3 cup butter: I used ¼ cup plus some canola oil to reach 1/3 cup
1/3 cup white rice flour (or another gf flour)
½ cup finely chopped onion
½ tsp. sea salt
¼ tsp. black pepper, freshly ground
1¾ cup good quality gluten free chicken broth
2/3 cup whole or two percent milk
2 cups diced cooked chicken
4 large carrots, diced or 16 plus baby carrots
¾ cup frozen peas (or a ten-ounce bag of frozen carrots and peas)
½ to 1 tsp. celery seeds (optional)
Heat butter/oil in large frying pan, add onion, cook 5-7 minutes until soft and translucent. While it cooks, cook the diced carrots for 4-5 minutes in a ¼ cup of water in a saucepan, lid on. Then turn off the heat, uncover it and throw in peas, set aside.
Heat the oven to 425 degrees.
Add flour, salt and pepper to the fry pan with the butter and onions, cook 2-3 minutes, stir often. Add broth (I held back about 2 tbsp. to make sure it wasn’t watery) and while it heats keep stirring. Add the milk when the mixture is hot but not boiling, stir well until it boils and then let it boil one minute, still stirring. Add the chicken and then the drained carrots and peas, Stir well. Add rest of broth if needed.
Roll out the pie crust thick; just big enough to cover the top of your 9 inch pie pan [about 11 inches] (I always use a glass pan but I am pretty sure you can use a metal one). I like to roll it just 2/3 of the way out and then sprinkle with about ½ -1 tsp. celery seeds. Roll it the rest of the way and the seeds will be embedded in the crust. I like the subtle flavor they add, a touch of really old-fashioned tastiness my mom would approve of!
Pour the hot chicken mixture into the pie pan and top with the crust. Make sure no crust hangs down; trim to look nice. If you want to go super rich just double the crust recipe and roll half so you can put a bottom crust in before you pour in the filling. Top with your celery seed crust, seal to bottom crust (if you used one) and do cut a few gashes for venting… place pie on a pie drip catcher. My pie pan is always very full, and that pie drip pan is wonderful for keeping the filling from dripping on my oven. You could use a cookie sheet or a sheet of aluminum foil to catch drips.
Bake 30-35 minutes until crust is light brown and the pie is bubbly.
Let the pie cool five to ten minutes before serving.
All you need is a salad, and you have a wonderful balanced meal. Enjoy!
Brown Rice Flour Mix (same as King Arthur basic blend)
2 c brown rice flour
2/3 c potato starch
1/3 c tapioca flour
The crust is from Annalise Roberts’ great cookbook: Gluten-Free Baking Classics.


 My World Without Wheat