Recently someone said in my hearing that sourdough is safe for gluten avoiders to eat. I thought, nope. Then I heard it again from a neighbor. I asked a few questions. This very nice neighbor and I share gf baked goods with each other. It turns out she has tummy issues that are causing wheat intolerance. I have celiac. She finds that sourdough bread is very digestible for her. I had to explain that if I ate regular sourdough it would not be at all safe for me. The sourdough process does not remove or magically inactivate the gluten in the wheat based flour. Sadly nope. Would be nice if that were so.

But I do have to say that I have been making some gluten free sourdough baked goods and find that they are delicious and not crazy difficult. The scones I posted a couple of weeks ago come to mind. So tasty, what great texture and flavor! And I have twice made delicious gf sourdough breads; one using white flours that I added oats and oat flour to base flour as well as seeds like poppy and fax seed. Makes such incredible toast. The other bread success has been the raisin bread; a fruited version of a plain sourdough loaf. Both recipes came from a facebook group for gluten free sourdough bakers who want to help each other bake gf sourdough foods. If you are on fb; put in that topic and you should find them. This awesome group has lots of recipes in their home page top right at “files”. And folks answer your questions when a bake turns out less than optimal.

I feel that sourdough breads have a better crumb and texture than regular gf breads. They toast up simply amazing, sort of like an English muffin bread. Makes great sandwiches. Lovely for us celiacs who miss good bread in a deep and fundamental way. I actually have eaten a lot less bread since going gf, its expensive and sometimes very disappointing so I just kept finding ways to avoid it. Baking bread that is worth the time and ingredients can be very hit or miss. My French baguettes are delicious, and my Italian fennel and golden raisin wide loaves are wonderful but I have also made many subpar loaves of gf bread over the past 9 years. Gummy, heavy, grainy and poor flavor plus they often only taste good the day you bake them. I strongly urge you just take a minute and check out this gf sourdough group on fb. Another recent and strong source for possible gf bake recipes are the two cookbooks out by Aran Goyoaga. Last month I bought Cannelle et Vanille in hardcover which is mostly very interesting components of a healthy meal using lots of flavors and lots of vegetables and I just got Cannelle et Vanille Bakes Simple on kindle. I haven’t baked much yet from either book but I hear a lot of good buzz in social media from gluten free bakers. Folks on fb call her CV as a nickname, now you are in the know too! I will report in this blog on how bread turns out when I use her recipes.
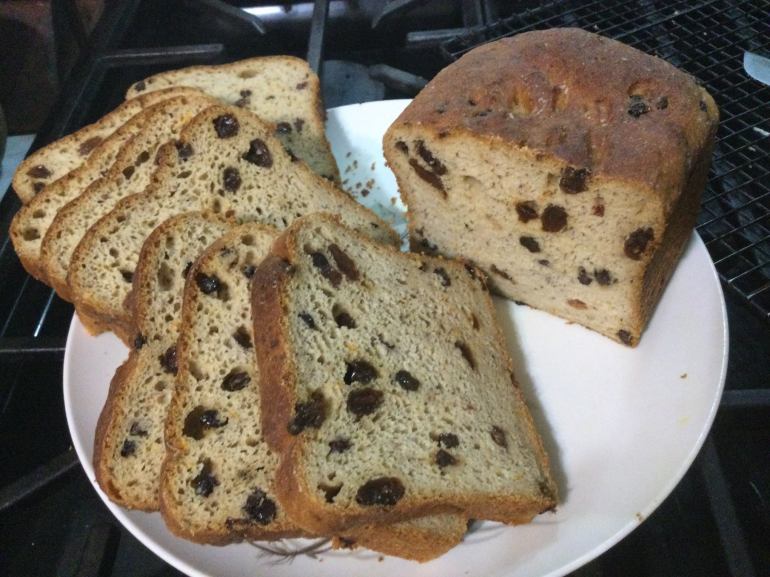
As I wrote above, the ones out of the gf sourdough bread bakers on fb are pretty tasty, the raisin and current loaf was amazing fresh and delish toasted a couple days later. I froze a lot of it and it defrosts quickly in my microwave before toasting slices to give it all those golden nooks and crannies. The seeded one makes awesome avocado toast and I love it toasted along with a couple of eggs in the morning. Just know that these gf sourdough breads take several hours to rise, can’t be rushed. AG’s Bakes Simple has several non sourdough bread recipes. Also other kinds of baked goods. They are much quicker than sourdough; use yeast from the store. Enjoy!

Meanwhile, join that gf sourdough group on fb (who would have ever thought that such a group exists!) and make a starter; takes about 7-10 days. I used CV’s recipe that is made with brown rice flour. It’s not that difficult to stir up a loaf if you have a stand mixer and you might really enjoy watching the slow rise of a tasty loaf of gf sourdough bread.
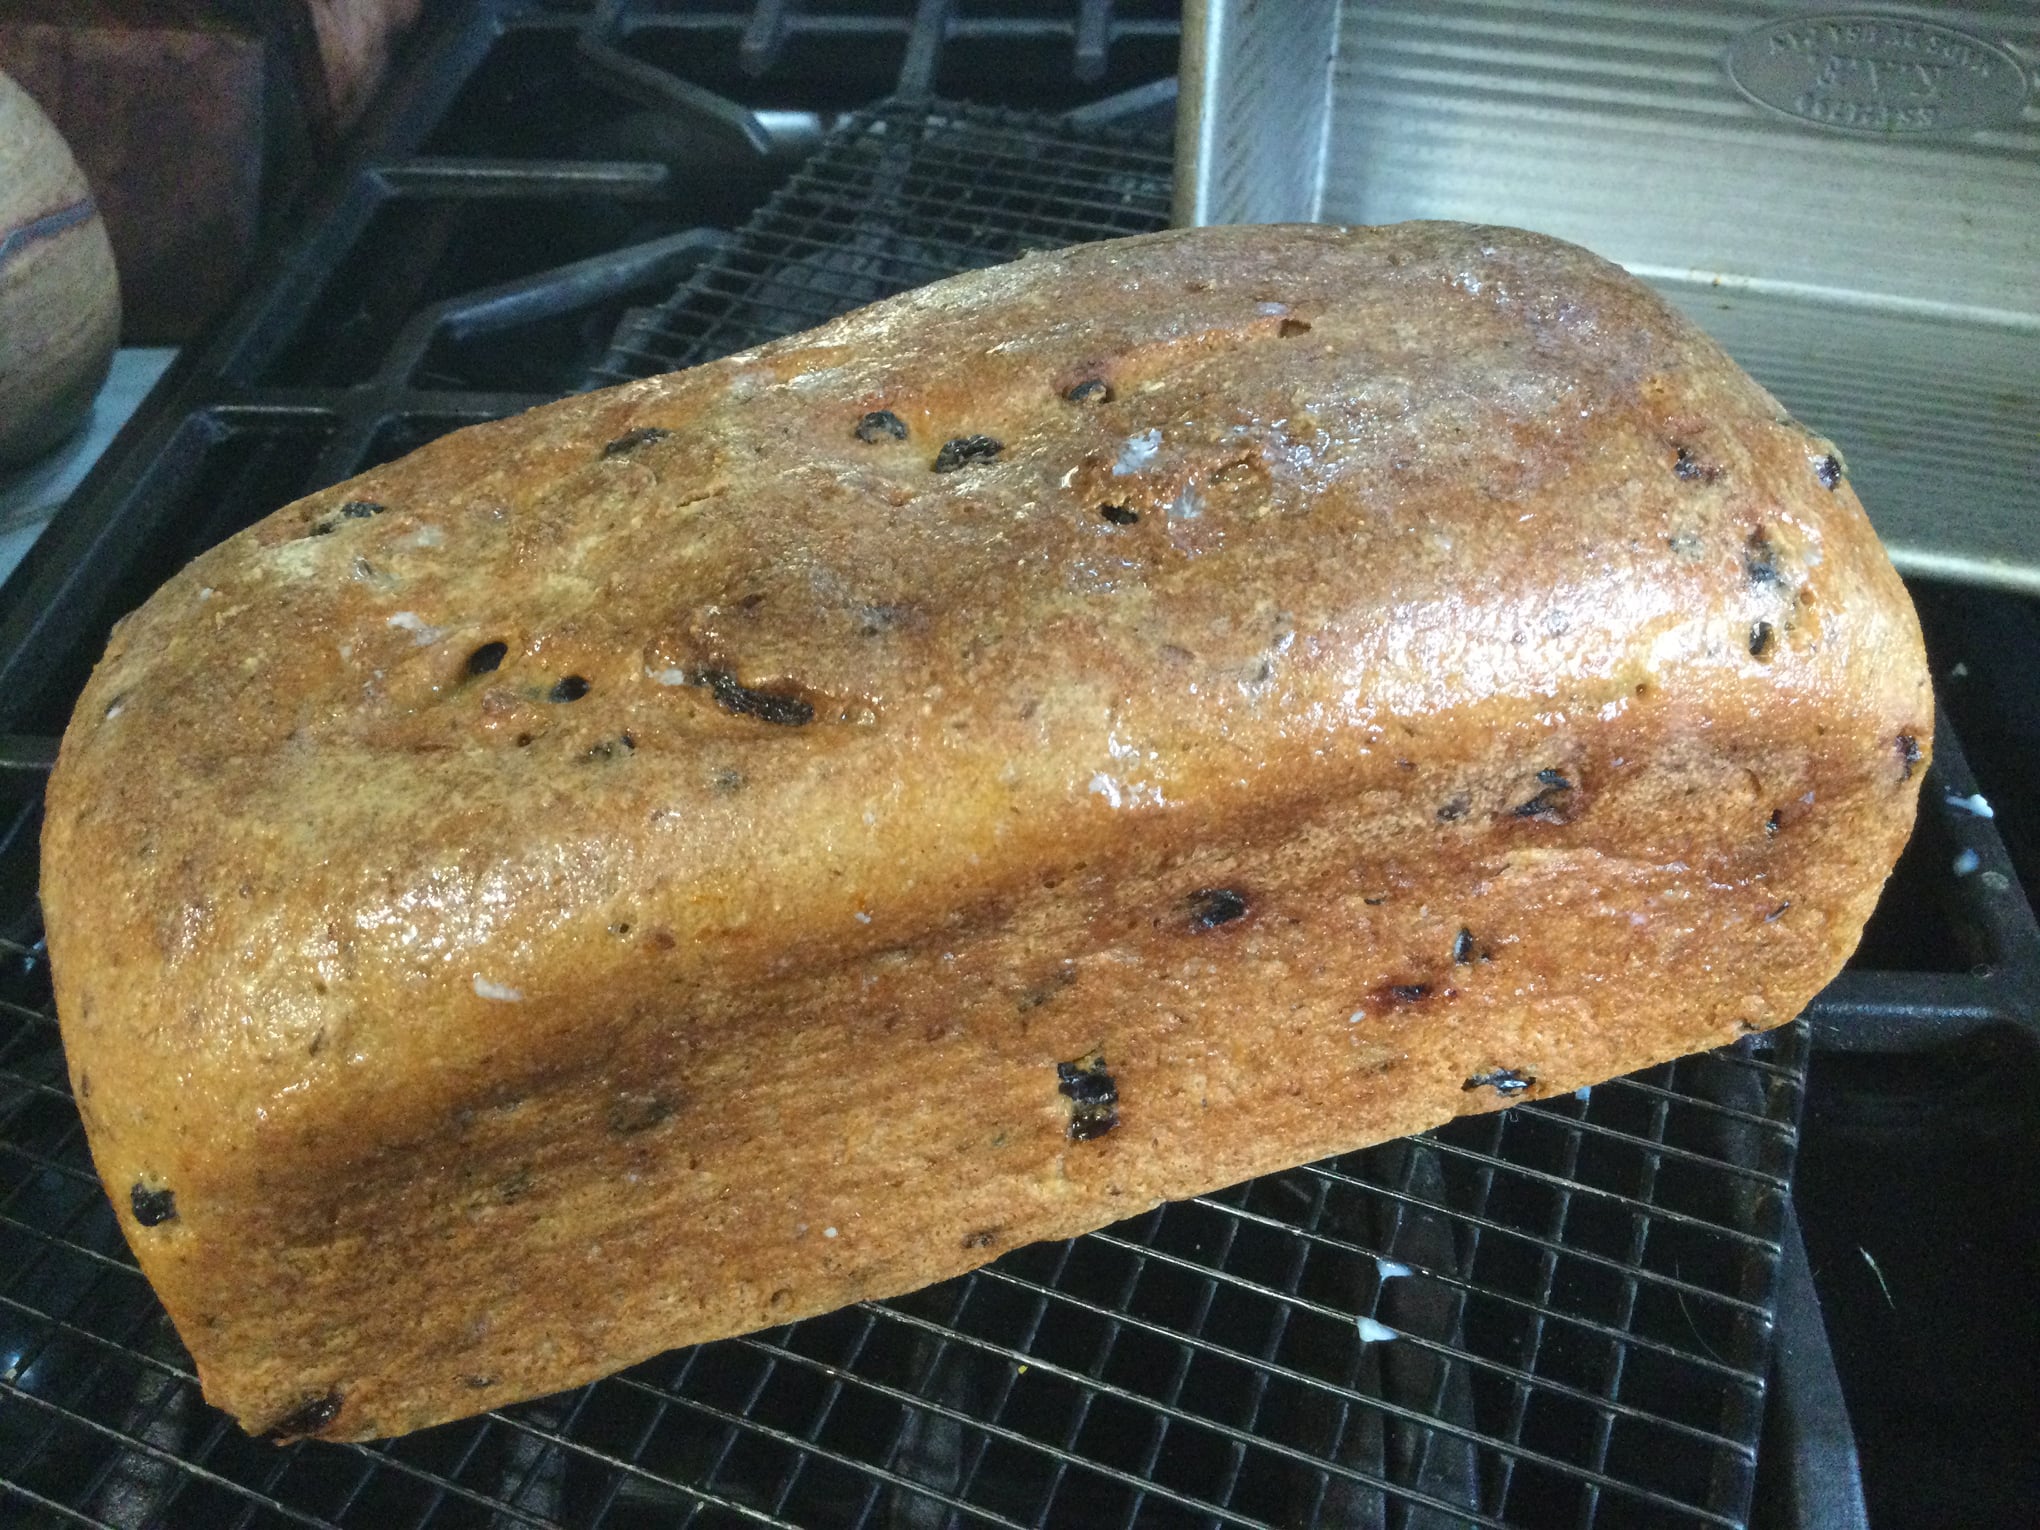
Raisin bread before I cut into it. Incredible scent and flavor. Mmmmm best raisin bread ever!
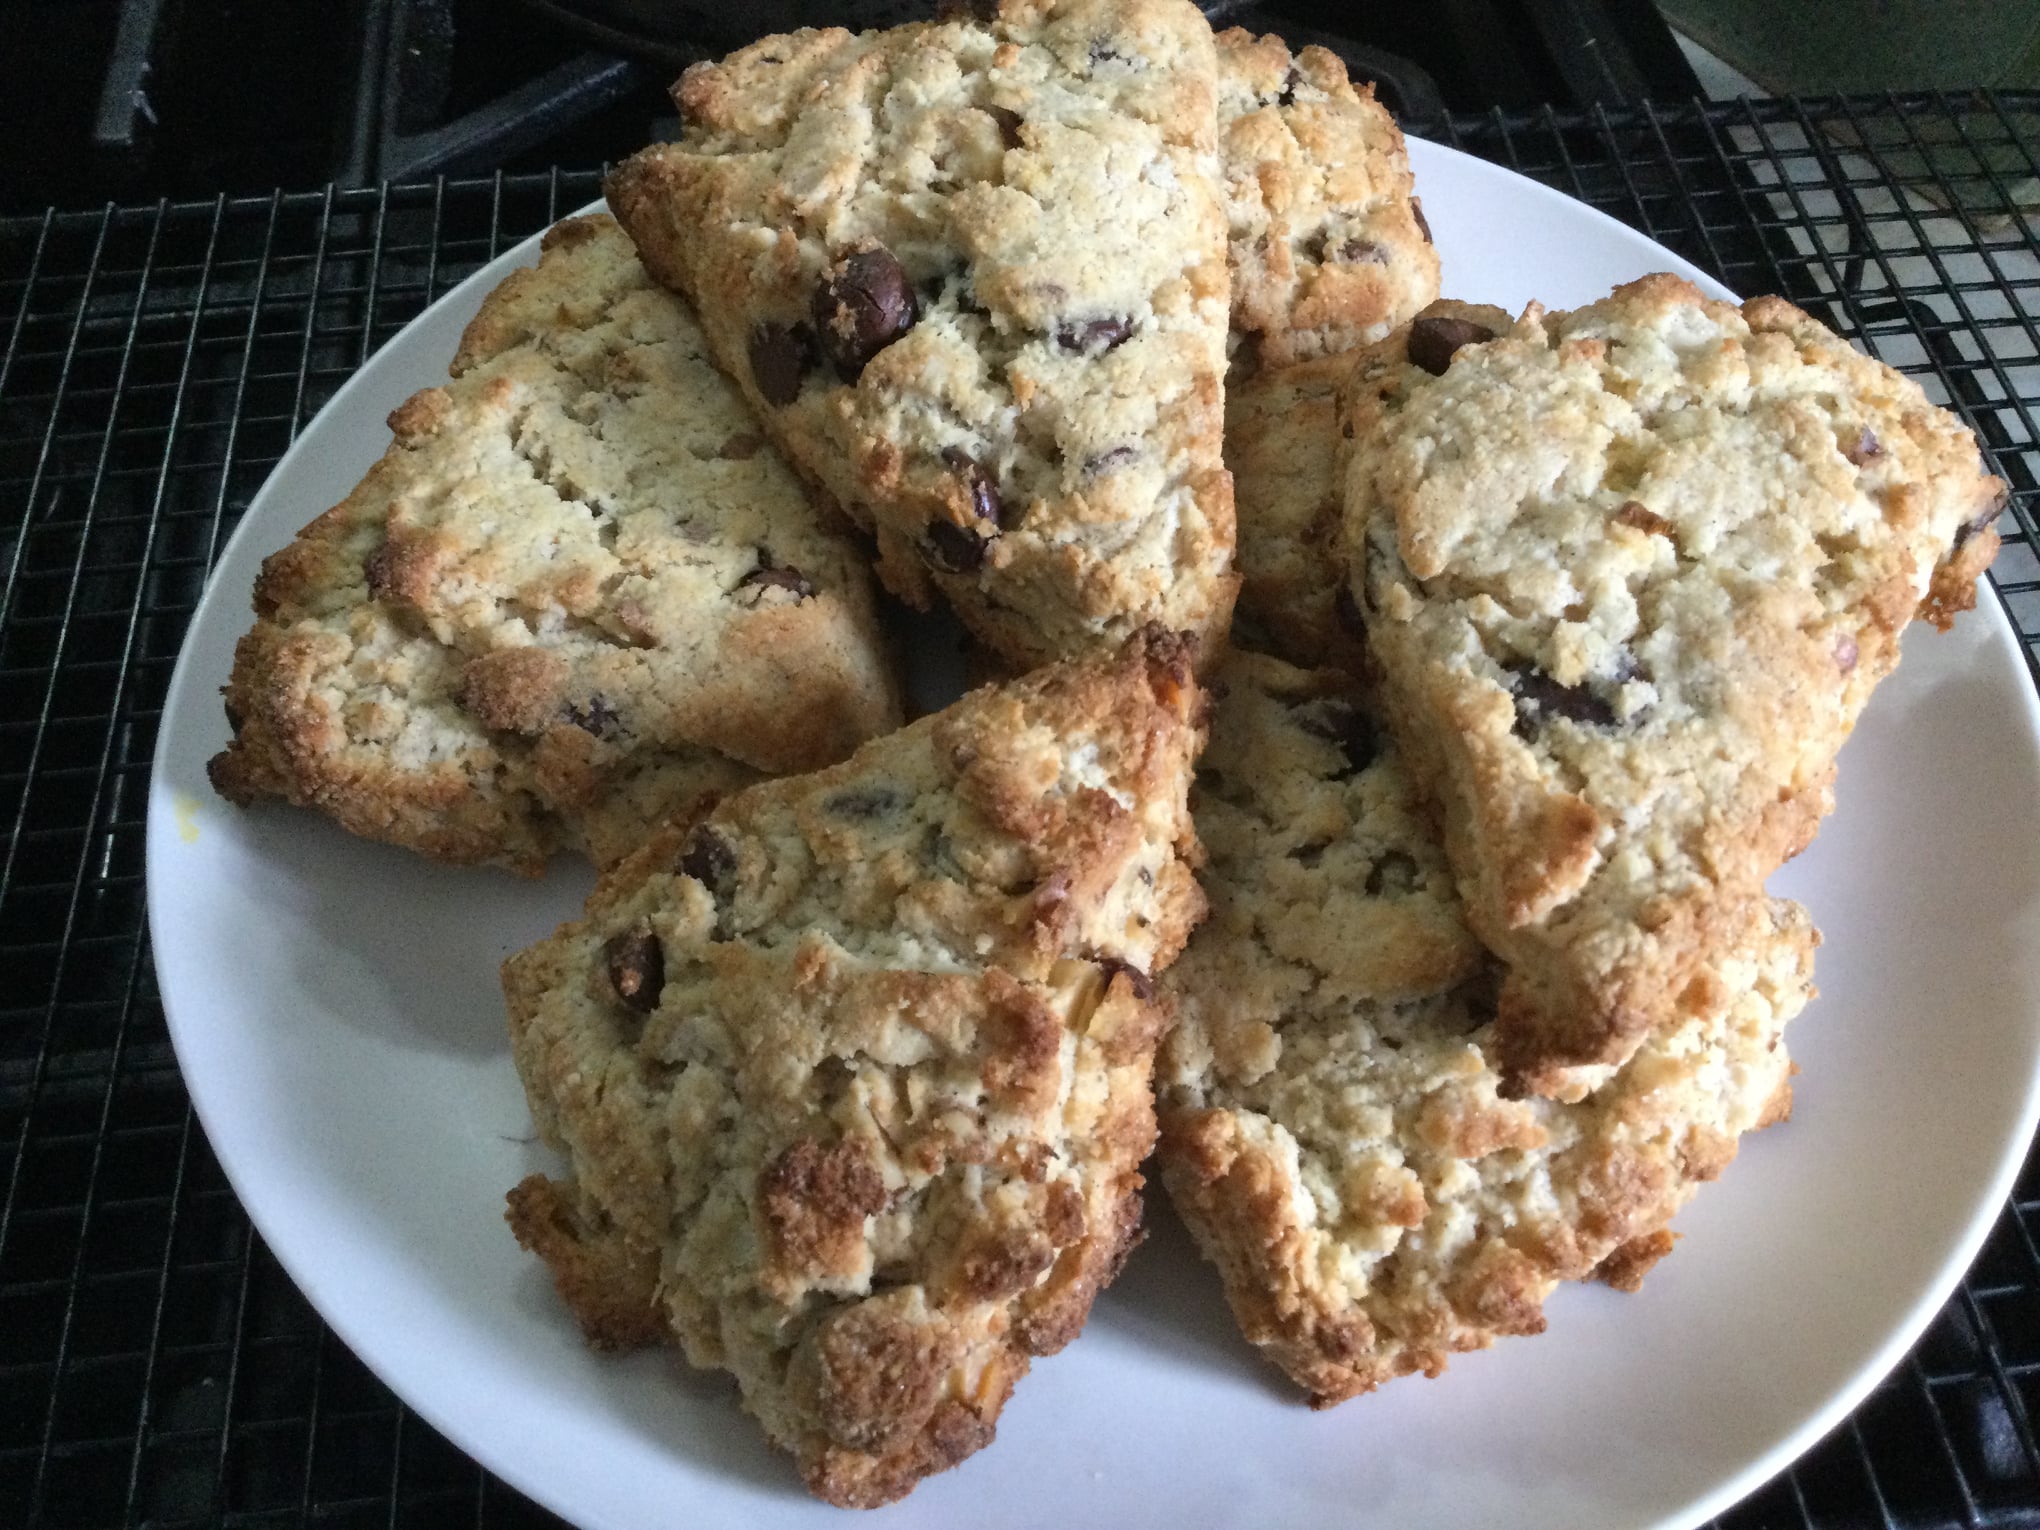
I feed my starter most every day; just a little bit and try to discard some each week. I guess it is time for some scones this weekend! I made some interesting chocolate chip sourdough cookies the other day; uses just almond flour so it is a bit grainy to me, made also with coconut sugar and coconut oil so kinda healthy but just not quite the texture I am dreaming of. My favorite CC recipe is King Arthur’s recipe. I love how you can form and freeze the cookies in a ziplock bag and bake just as many as I like. I guess I will live without sourdough in them! Back to the sourdough scones; there is nothing going less than perfect with them. Incredible flavor and impeccable texture. This weekend it is raspberry time!