I Be Feeling Sick Chicken Soup!

When you feel ill, like with the flu, a cold, an icky stomach bug, or if you get glutened, you want to eat something warm and soothing.  Something healthy that will stay down and feel happy in your tummy.  Something like homemade chicken soup.  That is where I was at when I made this Oriental chicken soup.  I was gutened by something the day before and still felt not well enough to eat regular food.  So I whipped up a small batch of fresh soup with homemade chicken broth I had leftover from this past weekend. This soup took less than 30 minutes, some of that actively chopping and some just allowing it to cook. Just the ticket when you are under the weather and have no pre-made soup to reheat: whip this up and you are set for several delicious meals.

I suppose you can make this soup with canned broth; be sure it is gluten free if you have celiac disease like I do.  Homemade is going to make it more flavorful but sometimes you just don’t have time to make fresh broth.  And if you don’t like sesame oil leave it out.  The pea pods, onion, ginger, garlic, parsley and celery leaves are very healthy additions and they each add great flavor. Ginger is particularly good if your tummy feels poorly. I often keep a bit of it frozen in a freezer ziplock baggie so it is there for a quick grate into a dish. I like the pad thai noodles; made of rice so they are easier on the tummy than egg noodles.

Don’t freak out if you only have one carrot or don’t want as much of any ingredient; make it your way.  I sometimes fail to measure as I make soup so some of these ingredients are a bit fluid.  As a young adult I would ask my mom to give me her recipes and got very frustrated by her un-measuring way of cooking.  These days I estimate or eyeball some ingredients.  Use your good judgment and what you have on hand in your pantry/fridge.

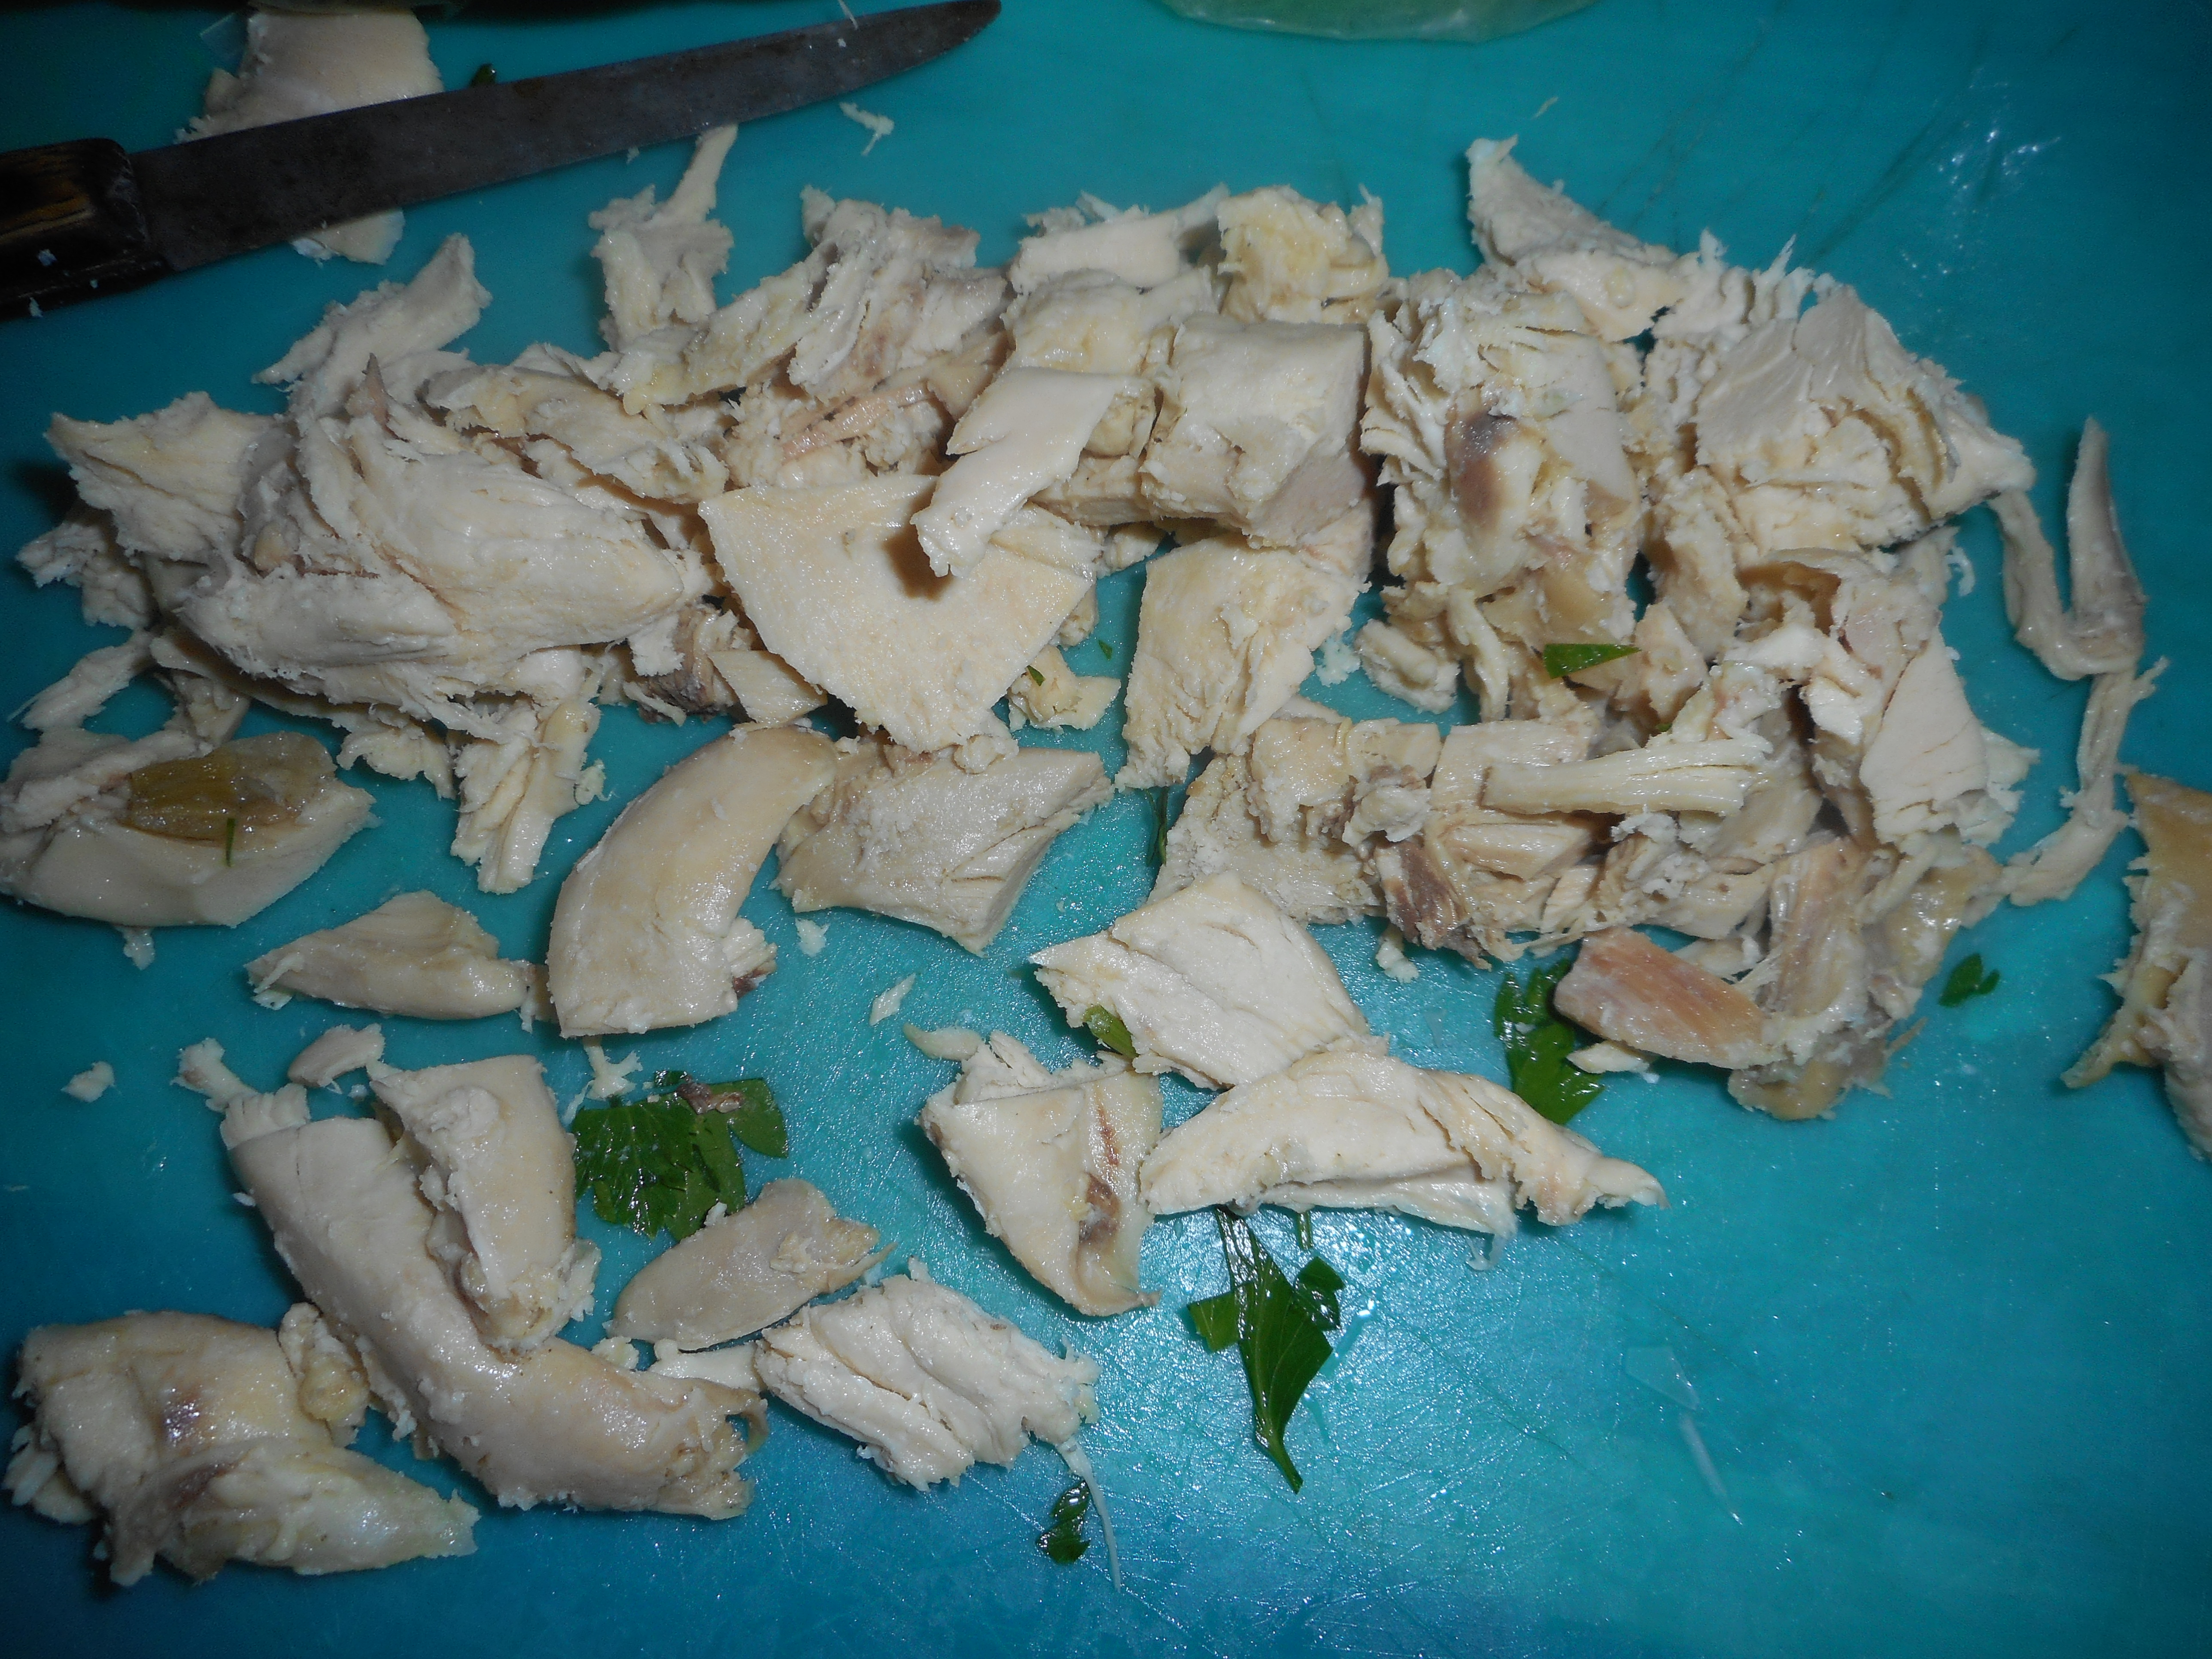
If you don’t want meat in it; leave it out. If I am really ill I do that; easier to digest without that protein. You could buy a rotisserie chicken but if you are gf; check the labeling; not many stores make gf rotisserie chicken. I used leftover roasted chicken breast from a family supper. Roasted chicken has a lot of flavor compared to steamed or poached.

chicken soup 001chicken soup 004chicken soup 007chicken soup 011

Angie’s I Be Sick Chicken Soup

1 tbsp olive oil

1 medium yellow onion, peeled and diced

2 carrots, washed but unpeeled, sliced into rounds

2 celery stalks diced including the leaves; separate them from stalks

1 garlic clove, peel and mince

About 2-3 tsp coarsely grated fresh or frozen ginger

1 quart of chicken broth

1 tsp. sesame oil

A handful of pad thai rice noodles

½ cup pea pods

½ to 1 tsp. sea salt

1 to 1½ cups diced chicken breast

Heat the olive oil in a large saucepan; I used a two quart one.  Add the diced onion and carrots.  Cook the soup, stirring frequently; about 2-3 minutes.  Add the celery stalks and the minced garlic clove, cook approximately 3 more minutes.  Add the broth which you have heated.  Stir and add the fresh ginger and sesame oil.

Heat 1.5 cups of water in a microwave safe container and add the rice noodles.  I like to break them up somewhat or they are a mess to slurp down. Up to you! Let them stand ten minutes while the soup cooks.

Cook the broth and veggies 8 minutes, add the celery leaves and pea pods which you coarsely chopped.  Cook 3 more minutes.  Add sea salt to taste and the chicken breast.  Stir and heat a minute or two.  Taste and adjust the salt. Add fresh ground black pepper to taste.

Pour in bowls.  I topped mine with some pea pod micro greens I grew in a pot at my kitchen windowsill.  Perfect meal when you want to sooth an iffy tummy.

Fennel Italian Bread, Fantastico!

When my family asks for French bread I have just one great recipe I love: the base recipe for this posted bread is my go-to recipe.  It always tastes great; the original came from food.com, I have modified that recipe somewhat. I think it is better for my changes.  I have made it like 10 times.  This is a recent variation I created adding some extra ingredients. I think it isn’t too raisiny: the golden chunks are very attractive and tasty in the fresh bread.  The fennel is critical to make the flavor pop while the orange zest adds a nice undertone. This is the best bread I have made since going gluten free.

I served it to my family with some homemade shrimp cannelloni and it was a perfect combination.  You can butter your slice for extra yumm but it is still delish without butter. I bet it would go great with ham for Easter luncheon.

This dough is very easy and quick to mix up.  You need to keep an eye on it rising; should be in a warm but not hot location.  Sometimes I turn on my oven and let it heat to 105 degrees upon which I turn it off and put in the bread.  Just warm enough and no drafts inside there.  Once it is getting close to ready you need to preheat the oven; take the bread out first if yours is rising in there!

My sisters loved this bread, Karen said it was like a “religious experience” eating it; she had four slices! Snuck the fourth when I left the room to get some water… And they both love good French bread and are not GF either so if they adored it that says something!

It is still tasty the next day.  I think it would make fantastic French toast. 

These pictures are all together for your convenience: in order of the recipe; the dry ingredients, the bread dough in the stand mixer, same dough with the added raisins and fennel seeds, the bread before rising, after rising just as I put it in th oven, freshly baked and a lovely slice about to be eaten by me!

fennel italian bread 004 fennel italian bread 005 fennel italian bread 007 fennel italian bread 008 fennel italian bread 009 fennel italian bread 011 fennel italian bread 012

Gluten Free Fennel Italian Bread

Makes two loaves

1 cup white rice flour

1 cup brown rice flour; throw it briefly in the blender if it isn’t finely ground

1 cup tapioca flour

3 tsp. xanthan gum

1 1/2 tsp salt

2 tsp. sugar

1 ½ cups lukewarm water; about 90-95 degrees

1 tbsp. yeast

½ tsp. ginger

2 tbsp. melted butter

3 egg whites, room temp.

1 tsp. cider vinegar

3/4 cup golden raisin

1 ½ tsp. fennel seed

1 tsp. orange zest

Directions:

Put the flours, gum and salt in bowl of stand mixer, blend. Add the zest, beat briefly to blend.

In two cup measuring cup or small bowl dissolve yeast, ginger, and sugar in the lukewarm water; let stand 3-5 minutes until foamy.

Dump into the dry ingredients; add the butter, egg whites and vinegar.  Beat on high for 3 minutes. Add the raisins and fennel; beat on med low for 20-30 seconds to blend it in.

While the three minute beating goes on, spray French bread pans, those ones with the tiny holes everywhere and the half round shape; spray them with cooking spray and dust all over with yellow cornmeal.

Glop the bread dough in blobs close together into the pans to make two loaves; it will be like soft putty.  Smooth the top with your fingers that you dampened in water.  Try to push in any raisins right on the surface. Cut 3 slashes diagonally on the top.  Sprinkle with a touch of cornmeal.

Let rise for 30 minutes until doubled.  Bake in pre-heated 400 degree oven for 40 to 45 minutes until golden.

Cool at least 10 minutes before slicing into thick pieces.

Raspberry Blueberry Muffin Madness!

Oh….the muffin saga continues. What shall I make for snack time?  Turning to my trusty muffin recipe I try a new variant; raspberry blueberry. Knowing I will get a similar texture to the cranberry blueberry if I use the same easy to dump together recipe. So easy: I think I can almost do it in my sleep! That’s why these fruity muffins are my go to baked snack; they can be quickly throw it together, dependably yummy and it is simple to vary the flavor depending on what fruit is available. I mention all this that so you can feel comfortable making your own version of them.  They are always tasty and far cheaper than GF muffins you can buy.spagetti and raspberry muffins 001

This particular batch of muffins did not disappoint: delicate texture yet slightly crunchy outside with zingy raspberry and sweet blueberry flavors and just enough sugar for me.  I used a bag of mixed fruit straight out of the freezer and picked out all the mango pieces leaving blueberries and raspberries -don’t defrost them before adding.  Slightly devious but I will enjoy the mango chunks later in a fruit salad. You can buy a bag of whatever berries float your boat or fit your budget

spagetti and raspberry muffins 005spagetti and raspberry muffins 004

The streusel topping insures that they look gorgeous and adds an extra layer of flavor.  There are walnuts in them to so you get some really great nutrients from the fruit, oats and nuts.  Not much guilt in eating one of these treats! You can swap the white sugar for coconut palm sugar which is very low as far as raising blood sugar.  I love how healthy these muffins are and the envious looks people give me when I chow down on one as they eat some noxious bag of salty/sugary snack full of preservatives and who knows what. People are envying ME and my GF treat…Love It! Much better than the pity party I sometimes face when people hear what I can’t eat anymore.

As always I taste tested a muffin from the batch while they were still warm out of the oven: at the moment of perfection.  This version is up there with the cranberry blueberry muffins I am addicted to.

It is smart to freeze any you won’t eat in two days time; a zip lock freezer bag works great.

Raspberry Blueberry Muffins

2 cups brown rice flour mix (see below)

2/3 cup granulated sugar

1 tbsp. baking powder

1 tsp. baking soda

¾ tsp. xanthan gum

¼ tsp. salt

1/2 tsp cinnamon

1 1/3 cup fresh or frozen raspberries and blueberries

1/3 cup chopped walnuts

2 large eggs

½ cup milk, 1 or 2 percent

½ cup canola oil

Topping: Mix the following in a bowl, make sure the butter is in tiny pebbles; use your fingertips to blend.

½ cup rolled oats

¼ cup brown sugar

2 tbsp. almond meal

1½ tbsp. butter

¼ tsp. cinnamon

——-

Directions: Heat your oven to 375 degrees, placing the rack in middle of oven.  Spray muffin pans with cooking spray.  One batch makes 14-16 muffins.  I got 16 when I made them.

Mix all dry ingredients in bowl of stand mixer or big bowl Add fruits and walnuts; stir to coat them with dry mix.  Combine milk and oil.  Beat in eggs, add vanilla.  Add liquids to big bowl; stir just until blended.  It is a very thick batter.

Fill muffin pans 2/3 full.  I use a big serving spoon and fill it about half way to dump in each muffin space. Sprinkle the top with the topping. Press it in a bit so it won’t all flake off after baking. Bake 21-23 min until golden brown. Do not over bake or they will taste dry.  Remove immediately from the pans and cool on a rack.  They freeze well for a few weeks, if they last that long.  Keeps in fridge (well wrapped) or an airtight cookie jar for 2-3 days.

Brown Rice Flour Mix base mix 

(This mix is the same as King Arthur’s blend)
2 c brown rice flour

2/3 c potato starch

1/3 c tapioca flour

Cherry Sunrise Pie for Easter

Next Sunday is Easter, the day of baked ham, chocolate candy eggs which I can’t eat and brightly colored eggs to hide for the three year old to find. I want our lunch dessert to be special yet not too heavy or fattening.  I want an attractive pie, with fruit in it and was hoping to make something easy.  I plan to have my cherry sunrise pie again; it was a big hit last Easter.

It has to have a gluten free crust for me but if you are making it for the wheat eating public there are ready made crusts out there that will make this so simple.  Frey’s Better Foods and Wegmans both have gf. graham cracker crust all ready to fill; so convenient.

I like this in the spring when there isn’t much fresh fruit available to make a decent pie.  You could make it the night before or early in the morning. I will post a picture of an individual slice this Easter when we enjoy it for lunch dessert; we gobbled it all down last year before I thought of taking a picture of just one slice.

photo 1

Cherry Sunrise Pie

One pie crust: bought ready-made or DIY.  I make mine from an 8 oz box of gluten free graham crackers crushed and mixed with 1/3 cup melted butter and pressed gently into a 9 inch pie pan.  Bake at 375 degrees for 9 or 10 minutes.  Let cool completely before filling.  You can make it a day ahead of time to shorten the work of putting together the actual pie.

Ingredients for filling

18 or 19 oz can of crushed pineapple in own juice

1 21 oz can of cherry pie filling

1 8 oz pkg light cream cheese, room temp.

½ tsp vanilla

1 cup heavy cream

¼ cup powdered sugar

Directions

Drain the pineapple for 20 min; save the juice!  I used my microwave to gently warm the cream cheese. I unwrapped it and placed the cold slab on a small plate and warmed it on a very low heat until supple and smooth.  Dump in a mixing bowl, add 2 tbsp pineapple juice, the vanilla, 1/3 cup crushed pineapple, ½ cup cherry pie filling.  If you are smart you will mostly use the goopy stuff and not too many cherries.  Save them for on top! Next, stir this all together really well.

Then whip the chilled heavy cream in a separate bowl with an electric mixer until soft peaks form, add powdered sugar and mix well with the mixer; be careful not to over beat it.  If it gets clumpy you went too far.  Fold this into the cream cheese mix until it isn’t streaky with white areas.

Gently spoon the filling into the pie shell, spread it out to fill the entire bottom.  I used a spoonula (blend of spoon and spatula) and smooth the top with a flat cake spatula.  I like to leave a sort of tiny ridge on the outer edge to keep the pineapple from spilling out onto the crust.  Then carefully pour the rest of the cherry pie filling in the center spreading it to cover ¾ of the top from the center out.  Finally, use a spoon to put clumps of pineapple around the outer rim of the cherry filling.  Chill at least 2 hours, preferably 4.  Cut and slice. No adornments are needed.

It has a light fluffy consistency and it isn’t that sweet.  Great to top off a big meal; not too filling and the fresh fruity taste is a spring treat.  Try it soon and you will be giving the recipe out afterwards!

Lemon Meringue Pie Heaven

This pie is old school delicious.  This is my mom’s bastardized version of a Betty Crocker recipe and made gluten free with my favorite crust.  It has no gelatin for you gel haters! I make it with the lesser amount of sugar in the filling but you can more than double it if you are a sweet freak.  I have never met a man who didn’t love it, well…maybe one. My friend Russel doesn’t care for anything with lemons. But his wife Claire adores lemon so this pie is for her and Mom…and my brother Christopher who often requests this pie when he is in town.

lemon pie 008

If I have them, I always use Meyer lemons for this recipe.  Your pie will have a delicate flavor – so light I sometimes call it lemon cloud pie!  Don’t worry; regular lemons work just fine. It can be difficult to find Meyer lemons and pricy too.

I have never gotten my mom to admit it but I am positive she added extra egg whites to her meringue.  Her pie was towering with the white fluffy stuff unlike my nearly level pie made with just three whites.  It is up to you how impressive you want your dessert to look. But if you have company you might want to go for the big bang of a four- five egg white meringue topping for maximum wow power!

My mom added the corn syrup to replace some of the reduced sugar and because it makes the texture of this pie creamier and more delicate.  Don’t make this pie on a very humid day or the meringue will weep and bead on the top.  It will taste fine but the look will suffer from the humidity.

Store any leftover pie in the fridge. It doesn’t keep more than two days but frankly none of it ever lasts more than two days.

lemon pie 002

lemon pie 004

Thickened cornstarch, sugar and water mix all stirred up.

lemon pie 001

Baked pie crust.

lemon pie 003lemon pie 005lemon pie 006lemon pie 007lemon pie 008

Mom’s Lemon Meringue Pie

Crust:

1 c plus 2 tbsp brown rice flour mix (at bottom of recipe)

2 tbsp sweet rice flour

1 Tbps. granulated sugar

½ tsp xanthan gum

¼ tsp salt

6 Tbps. cold butter cut into 6 chunks

1 lg egg

2 tsp fresh orange or lemon juice

—————

Spray 9 inch metal pie pan with cooking spray, dust with white rice flour.

Mix dry ingredients in bowl of stand electric mixer.  Add butter and mix until crumbly and resembling coarse meal.  Add egg and juice.  Mix until it comes together into big chunks.  Shape into a ball with your hands. Put it on a crust sized piece of wax paper (14 x 14 inches more or less), flatten the crust ball some; put on top of it another piece of wax paper and chill it all in your fridge 15-20 minutes. Then roll it out and line a 9 inch pie pan with it.  Make sure you get the middle nice and thin; this crust can be tough to get the center as thin as the edges. Prick it all over with a fork to keep it from bubbling out and bake the empty crust at 375 for 10-12 minutes until light brown.  Let cool to room temperature.

Lemon Filling:

Ingredients:

1/3 to ¾ cup sugar

1/3 plus 1 tbsp. corn starch

1 ½ cup water

3 eggs, separated; yolks for filling, save whites for meringue

3 tbsp. butter cut in small chunks

2 tsp. lemon zest

½ cup fresh lemon juice

2-3 tbsp. clear corn syrup

Directions:

Start oven heating to 400 degrees for browning the topped pie.

Mix the sugar and corn starch in a heavy bottomed medium sized saucepan.  Add the water, stirring.  Heat until it boils, stirring constantly, boil one minute, take off heat.  Beat yolks briefly in a small mixing bowl, then add the hot stuff slowly to it; half the hot mixture, stirring constantly.  Then dump it all back into the saucepan, bring to a boil, stir like a crazy person so it doesn’t scorch. Boil 1 minute at medium heat.  Remove from heat and stir in the butter. Let it melt as you stir. And then stir in the lemon juice and zest. Glug in some corn syrup. Pour the hot lemon filling into the pie crust.  Top while still hot with the meringue you just beat up. Make sure you get the meringue all the way across the top and along every single edge. No cracks, no gaps. Bake it 10-11 minutes until light brown. Cool to room temperature (avoid drafts while it cools) and then chill your masterpiece for 2-6 hours.  Slice and serve. Makes six-seven lovely slices.

lemon pie 012

This slice is from the second day; we were in a feeding frenzy and forgot to take a picture when the pie was cut and served. It is a tad weepy from the passage of time.

Meringue topping

three egg whites (or 4-5)

¼ tsp. cream of tarter (or 1/2 tsp)

6 tbsp. granulated sugar (or 8-10 tbsp.)

Directions:

Beat the three whites and the cream of tarter until it is past the foamy stage, add the sugar half a tbsp. at a time beating on high until the whites are stiff and glossy.  This will take several minutes.

If you add one or two extra egg whites add another ¼ tsp. cream of tarter and add 2 tbsp. sugar for each extra white.

—————–

Brown Rice Flour Mix  (same as King Arthur blend)
2 c brown rice flour

2/3 c potato starch

1/3 c tapioca flour