
My sister Elaine makes this dessert all the time. It is a specialty of hers. I think it is her go to company dessert when nothing else comes to mind. When she first described it I was not impressed. I wasn’t even looking forward to it at our family dinner party she throws every summer when I come up to visit. So I was surprised when I bit into my slice of it. Clearly this is a case of the results being far more than a simple sum of the ingredients. It is light, sweet, airy, fruity and basically melted in my mouth. I have had it at her house many times and have made it a few times myself. It is easy to construct and it can be varied in the fruit topping.
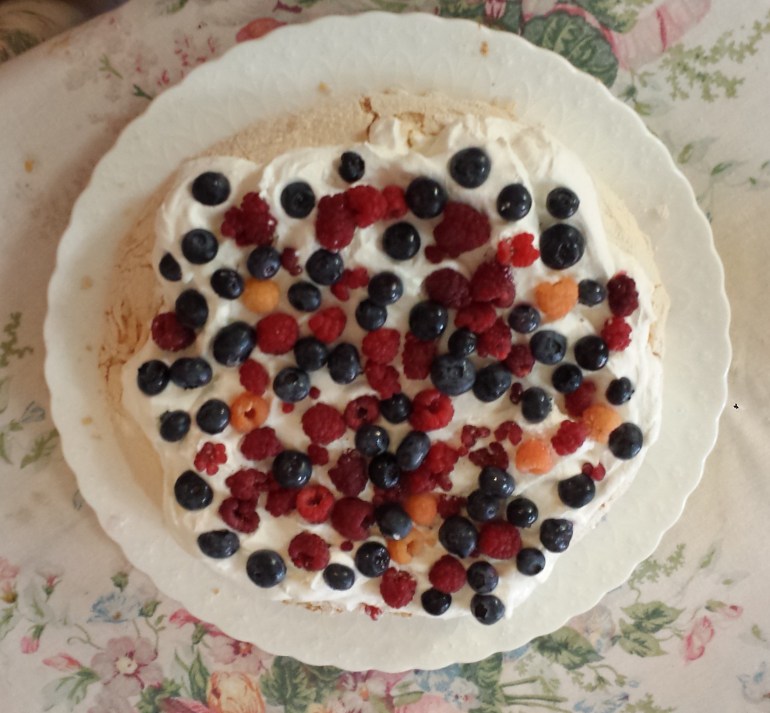
The old school classic topping is fresh passion fruit. Elaine mostly serves it with sliced fresh strawberries, perfection! It is decent with blueberries too. I once used a mixture of ripe summer fruits; peach, nectarine, blueberries, mango and kiwi. That was really memorable. Ripe local strawberries would be super tasty too. Go with what is ripe and flavorful when you are shopping for fruit. I used blueberries and raspberries for this latest version but you decide what works for you. No canned fruit though, only fresh will do.
My sister got the recipe from Food network – a 1999 recipe. It is naturally GF so no one will ask where the wheat is! Don’t leave out the red wine vinegar; totally necessary.
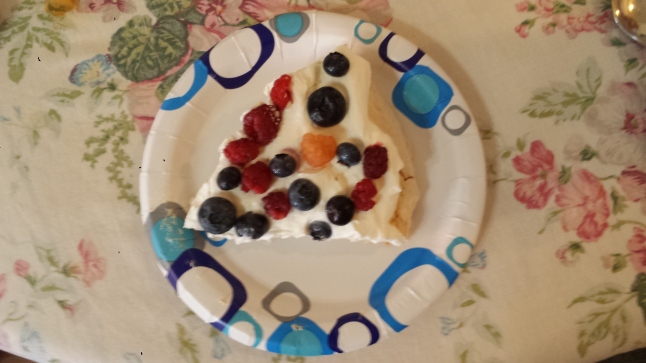
Slice today; sorry it is on a paper plate but it was luscious!
Pavlova
Ingredients:
1/2 cup egg whites at room temp (about 4-5 eggs)
1/8 tsp. cream of tartar
1/8 tsp. salt
1 cup granulated sugar
1 1/2 tsp. cornstarch
1 Tablespoon red wine vinegar
1/2 tsp. vanilla extract
1 1/4 cups heavy cream
2 T light brown sugar packed or white sugar
1 pt. fresh strawberries for top, sliced and 1 cup fresh blueberries
or 3-4 oz fresh raspberries and half a pint of blueberries
or 2 sliced ripe peaches and some raspberries or blueberries
DIRECTIONS:
Preheat oven to 350 degrees
In a mixer fitted with a whisk attachment whip the egg whites, cream of tartar and salt in a clean, dry bowl until foamy. Add the granulated sugar, cornstarch, vinegar and vanilla and continue whipping until stiff, smooth and glossy, about 7-8 minutes more.
On a sheet of parchment paper cut to fit a sheet pan, use a pencil to draw or trace a 9 inch circle in diameter. Line the sheet pan with the parchment, pencil side down (you should be able to see the circle). Spoon the egg whites in the circle, using the back of the spoon to smooth the top and sides of the disk. Make it high rather than wide; it will settle after baking. Bake in the center of the oven for 10 minutes, then reduce the heat to 300 degrees and bake until the meringue has puffed up and slightly cracked on the top and the surface is highly browned to the color of a latte coffee, about 45 minutes more. Turn off the oven, prop open the oven door, and let it cool in the oven at least 30 minutes, to room temperature. This ensures a gradual cooling, which protects the delicate meringue.
Whip the cream and brown sugar (sometimes I use white sugar) until stiff. spoon it in the center of the cooled pavlova and spread out to within 1/2 inch of the edge, arrange the slices of strawberry in the middle. Sprinkle the blueberries around the edge of the strawberries. To serve, slice into wedges with a serrated knife.
So make a pavlova and make everyone happy; it is beautiful to look at and even better to eat. Enjoy!
Originally published July 2014. Recipe slightly changed, minor editing to text.


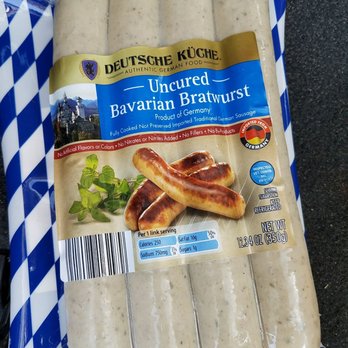

 Uncured means they have less junk added in the curing process of many sausages. Definitely a yummy and healthyish choice for sausage in any recipe. They cook in about ten minutes. And grilling them is on the package as an alternative to the frying pan. Next time I will try them on my grill. Maybe for camping…