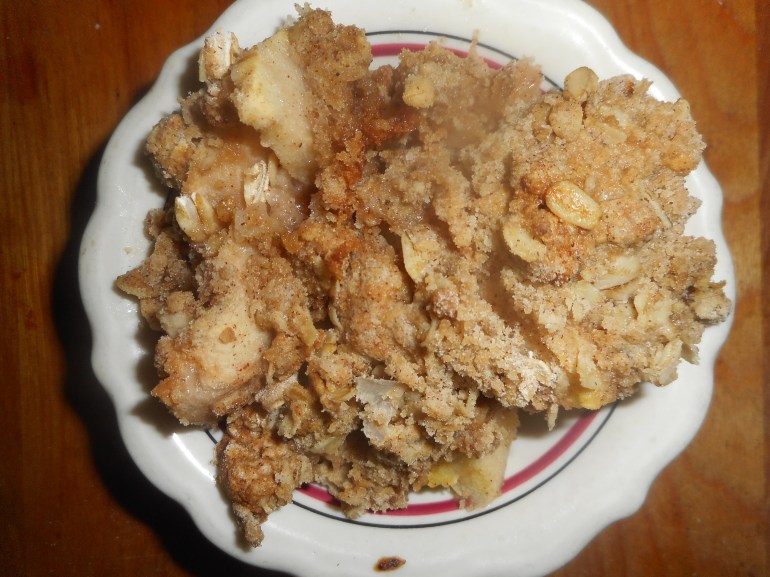
Apples are the centerpiece of the fall harvest culture, and we entered fall last week so it’s time for some apple-based dessert! Some may think pumpkins are the way to go in baking, but I firmly believe the apple is king in autumn in America. Crisp, sweet, flavorful and so very good for you. Apple crisp is nice as it goes together quickly and travels well. I will be camping next weekend, and it will be very good indeed baked on a campfire.
If you can, get the organic ones as the sprays they use on growing apples are not at all good for you. I have made apple crisp with some baking apples from a pick it yourself farm near Milford NJ and it was very tasty. I especially suggest you get your apples at an actual apple orchard. Another orchard just south of Hellertown, PA is Bechdolt’s Orchard which grows many apple varieties. Go there if you want the freshest tastiest apples in the Saucon Valley area. Apples grow all over the globe so shop where you can get them fresh and crisp! The variety is up to you but I would not suggest any that are not meant for baking; don’t use red delicious as they are for eating only, same goes for honey crisp apples. 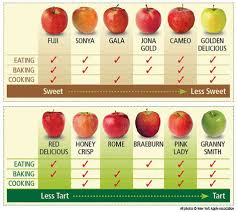
This recipe is out of Gluten-Free Baking Classics Cookbook by Annalise G. Roberts with a few minor changes. I am betting you can use any GF flour mix in this recipe, not like a cake or other baked goods that have very specific flour requirements.
And it is so much easier than a pie. No crust to mix or roll out. Just a simple mixed up topping to add to the cut up apples. Bake it and voila: a yummy yet fairly healthy dessert!
I have made the topping several ways. You can cut un-melted butter into the dry ingredients; it makes for a firmer crumb than the melted version below. I have made it egg free but it really somehow needs that egg to pull it together to mimic a wheat flour based crisp. The oats can be left out if you don’t like them or can’t eat them. I personally love oats in my crisp. A quarter cup of chopped nuts can be added to the topping; really a nice touch too! I don’t like it too sweet so I use the lesser amount of sugar. This is entirely a personal choice. You can up the nutritional value by adding flaxmeal to the dry mix; 2-3 tbsp.
For those who love ice cream, this recipe is absolutely perfect with a big scoop of vanilla ice cream next to it. I like it warm from the oven but it also is tasty cold the next day, if you have any left over that is!

Angie’s Apple Crisp
1 cup King Arthur’s Basic GF flour (mix recipe is available below)
½ to ¾ cup sugar (I prefer brown sugar)
½ cup old fashioned gf oats
1 ¼ tsp baking powder
1 tsp cinnamon
Sprinkle of nutmeg
½ tsp xanthan gum
½ tsp. salt
1 large egg
6 cups peeled and thinly sliced apples
¼-1/3 cup butter, melted
Heat oven to 350 degrees. Put rack in center level of oven. Lightly butter a 9 inch square pan or spray with cooking spray.
Combine all the dry ingredients. Add egg and stir to mix well. Place apples in the baking pan, top with the dry mix and sprinkle with the melted butter. Bake 40-50 minutes until bubbly and the topping is lightly browned. Let cool at least 10 minutes before dishing out. Six servings.
You can bake this on a grill with the lid down or even on a campfire although that can be chancy due to uneven heat. Let me know how you bake yours!
Brown Rice Flour Mix (same as King Arthur’s Basic GF blend)
2 c brown rice flour (finely ground)
2/3 c potato starch – Not potato flour!
1/3 c tapioca flour
Originally posted by me October 2015.